
Exporting video
2026-08-10Last updated
To play video files outside of Security Center SaaS, export the video from a tile to your local hard drive.
Before you begin
What you should know
- G64x
- MP4 (default format)
- ASF
Procedure
-
Click Browse (
 ) to display your entities.
-
Hover over the tile, and click Show more (
 ) > Export
(
) > Export
( ).
).
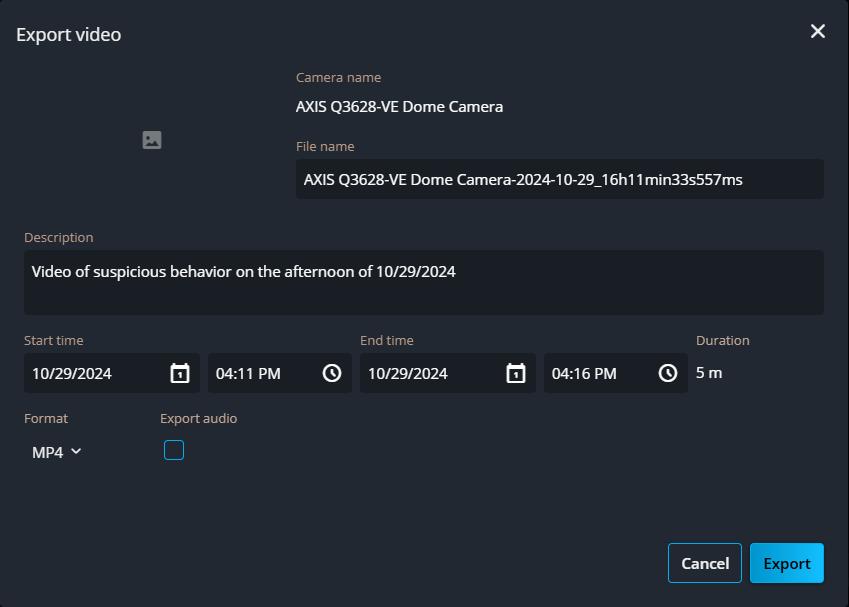
-
Click Export.
The number of video files being exported is displayed next to the Export status (
 ) icon.
 -
Click the Export status () icon to view the status of the export.
-
When the export status is Ready to download, click .
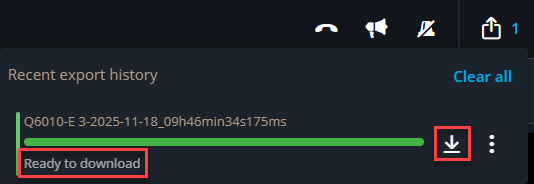 The video file is saved to the location defined in your web browser settings. The default location is C:\Users\<username>\Downloads.