2026-08-10Last updated
To give an unplanned visitor access to visit your site, you can use the walk-in visitor
check-in option.
What you should know
If your organization uses Security Center SaaS Premium, the system can automatically
screen walk-in visitors during check-in to identify potential security matches. Security
screening is only available for US accounts and only screens US people. Note: The picture
taken during visitor check-in is only stored in our Microsoft Azure storage and is not sent
to third parties.
Procedure
-
In Security Center SaaS, open the Front desk task.
-
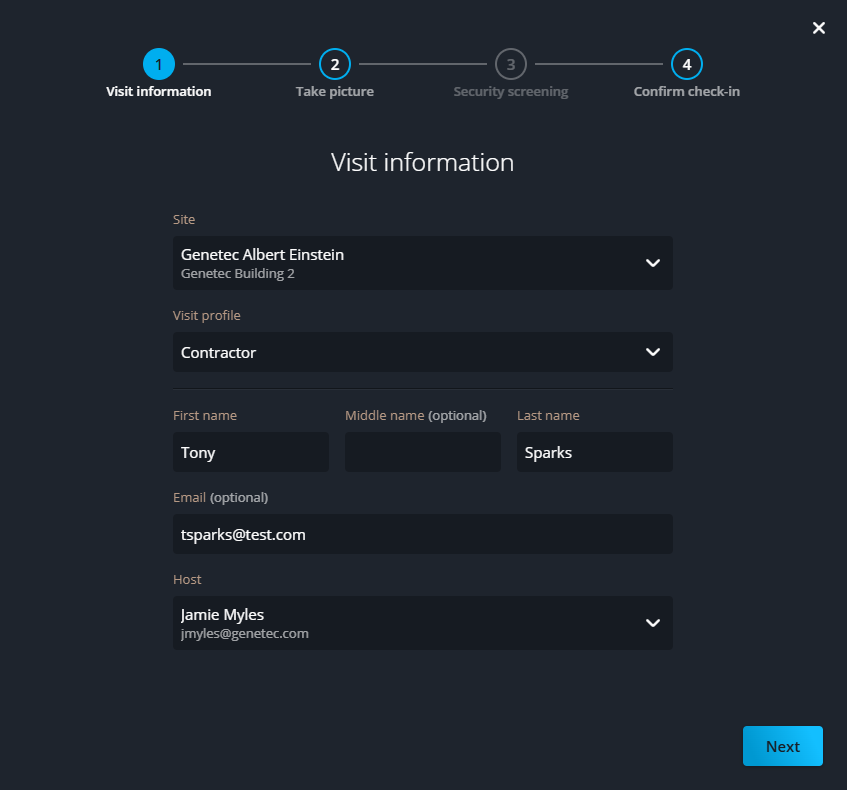
Click Walk-in visitor check-in and follow the on-screen prompts
to complete the required information.
Allow camera usage if your web browser prompts you to do so during visitor
check-in.
-
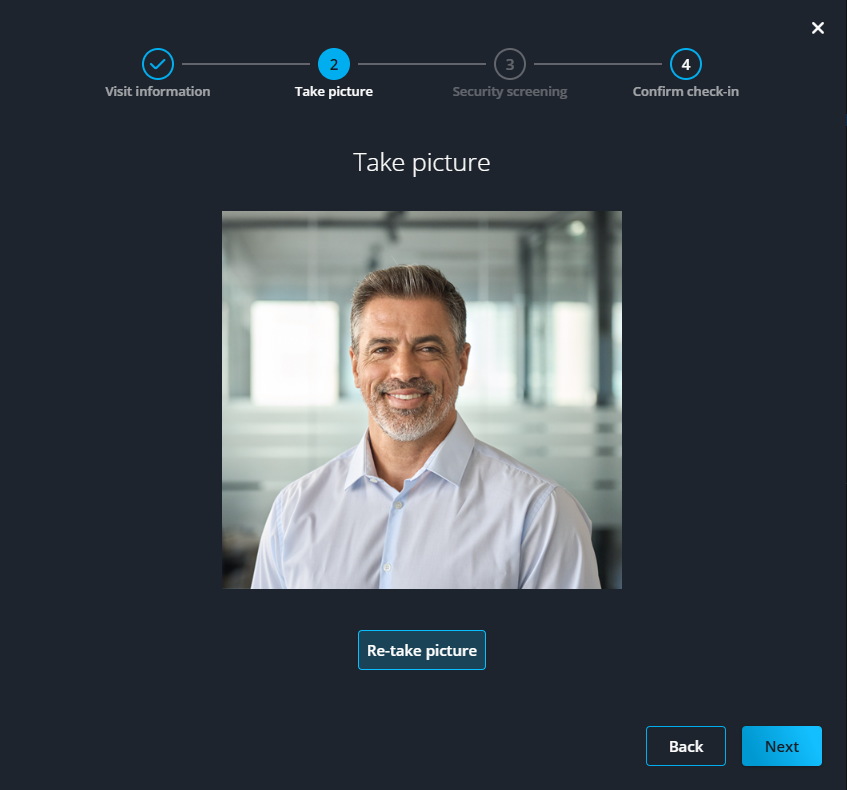
At the picture-taking step, instruct your visitor to stand in front of the camera for a
front-facing photo.
-
If security screening is enabled, review the Security screening section to determine if
the visitor is a match:
- If the person is a match: Verify that their name, DOB, and photo match the flagged
profile. Click Confirm match, click Confirm
match again, and let the visitor know someone will be with them
soon.
- If the person is not a match: Click No match, and proceed to
the next step.
-
In the Confirm check-in section, review the information for
accuracy and click Confirm check-in.
After you finish
If all other conditions have been met, you can issue a badge.

 Allow camera usage if your web browser prompts you to do so during visitor check-in.