
Granting access to areas automatically
2024-07-04Last updated
To automatically grant access for people to logically grouped areas, you can create nested areas for Genetec ClearID™ in Security Center SaaS.
Before you begin
- Create the areas that you require.
- Learn about nested areas.
- Plan the logical grouping of your areas before configuring your nested areas to automatically grant or inherit access.
What you should know
If the schedules for any of the nested areas change, the area
relationships (access rules) must be configured again.
Best Practice:
Nest areas
using Access rules options in the
Relationships section of the Area view
to inherit the required access. You can create nested areas to add access rules
relationships for up to three logically associated areas. Nesting more than three
areas together isn’t recommended.
Procedure
-
In the Area view, click an area in the left navigation
pane.
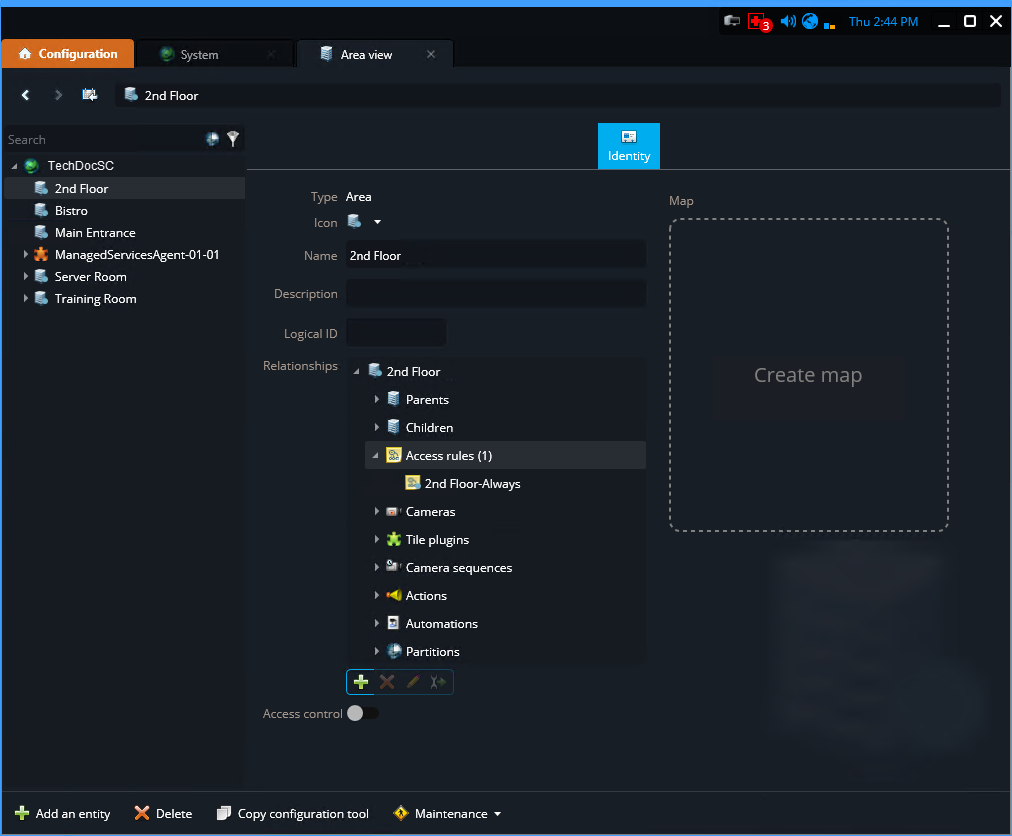
-
In the Identity tab Relationships
section, double-click Access rules.
-
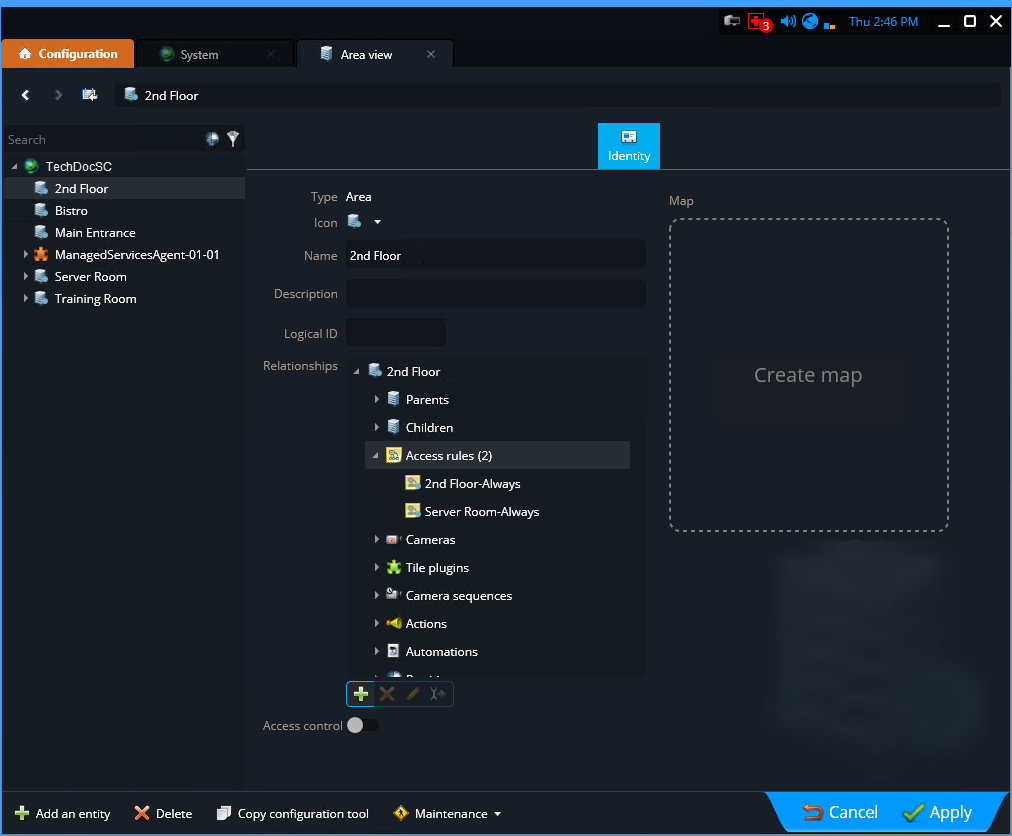
Click Insert an item (
 ) then search for and select the access
rules that contain the required schedules for the areas that you want to
associate with the area selected earlier in step 2.
) then search for and select the access
rules that contain the required schedules for the areas that you want to
associate with the area selected earlier in step 2.
 Tip:You can also click Entity type and select the Access rule checkbox, then click Search to only display access rules in the entity list.
-
Click Insert an item (