Add one or more individuals watchlist entries so that you can screen individual
visitors and automatically perform block or notify actions at a site or global level as
specified in the watchlist configuration.
View reasons why visitors are in notify or block watchlists.
Procedure
Click Organization
> Watchlists.
Select a watchlist from the list.
Click Add entry.
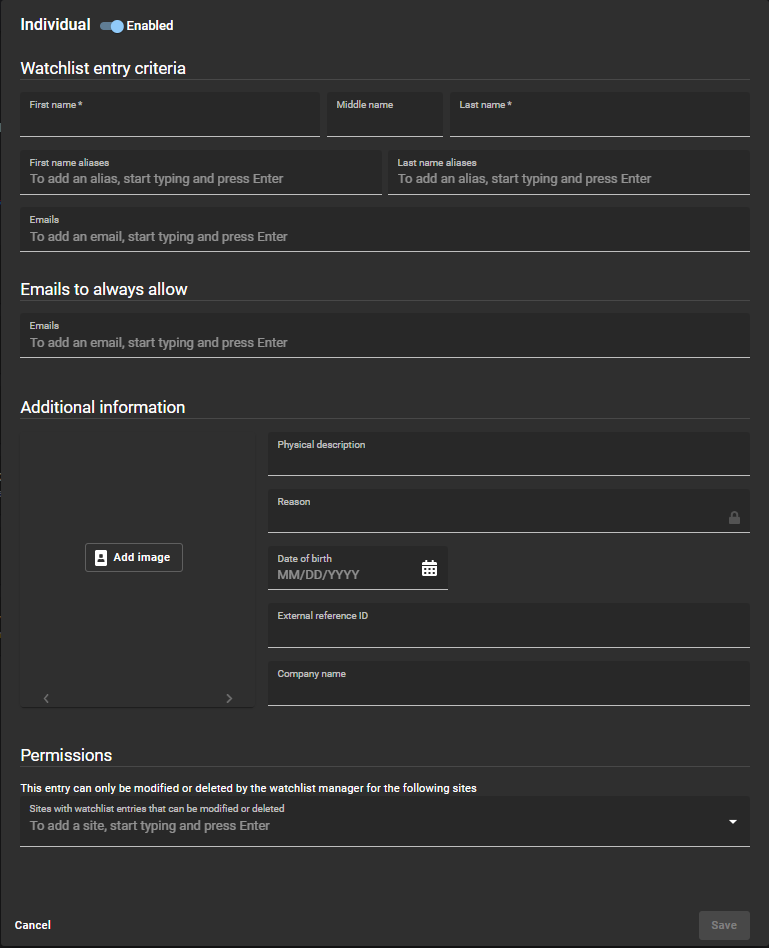
At the top of the watchlist entry click the
Enabled slider to enable or disable the watchlist entry.
In the Watchlist entry criteria
section, complete the fields:
First name
Enter a first name.
Middle name
Enter a middle name.
Last name
Enter a last name.
First name aliases
Add any known first name aliases and press enter. Repeat as required.
Note:
Aliases
are shown in brackets in the watchlist entries list.
Last name aliases
Add any known last name aliases and press enter. Repeat as required.
Emails
Add any known emails and press enter. Repeat as required.
In the Emails to always allow section, add any emails that you
want to exclude from the watchlist screening process.
This section is used to add any similar emails or false positive email matches
that you might want to always allow. For example, a possible match that has the same
name details, but is a different person with a different email address that should be
allowed.
In the Additional information section,
complete any additional fields that you require:
Physical description
Enter a physical description.
Reason
Enter a reason for the block or notify.
Note:
The
Reason field can contain sensitive private
information, and can only be viewed by the watchlist manager for the
site.
Date of birth
Use the calendar picker to enter a date of birth.
The date of birth information
is useful additional information when a visitor check-in matches multiple people
with the same name. It can be used to validate an identity and also eliminate
duplicates or false positive matches.
External reference ID
Enter an external reference ID.
Company name
Enter a company name.
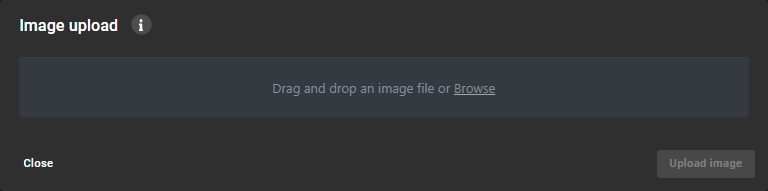
In the Additional information section, Click Add
image to add one or more images if required.
Drag and drop an image or click Browse to select the image
file that you require and click Upload image.
Repeat for each additional image you want to upload.
(Optional) Click Delete image for any images you no longer
require.
Tip:
Click Open in new tab to view the
full-size image.
If you have Watchlist entry
permissions activated for your account, in the
Permissions section, add the sites that you require.
Click Save.
Example
Watch this video to learn more. Click the
Captions icon (CC) to turn on video
captions in one of the available languages.