
Adding watchlists
2024-06-18Last updated
Add an individuals watchlist or companies watchlist so that you can screen individuals or companies and automatically perform block or notify actions at a site or global level as specified in the watchlist configuration.
Before you begin
What you should know
- Any watchlist manager or account administrator can modify or delete any watchlist that is configured as a global watchlist.
Procedure
-
Click Add watchlist.
-
In the Type field, select a watchlist type. From the list,
select either Individuals or
Companies:
- Individuals watchlist
-
 An
Individuals watchlist is used to monitor visitor check-ins for
persons of interest listed in a watchlist and then take action as specified in the
watchlist configuration. For example, you might create an individuals watchlist to
automatically block visitors listed in a watchlist and notify watchlist managers. For other
situations, you might only notify watchlist managers. You might also create an individuals
watchlist to notify all watchlist managers when VIPs check-in at your site.
An
Individuals watchlist is used to monitor visitor check-ins for
persons of interest listed in a watchlist and then take action as specified in the
watchlist configuration. For example, you might create an individuals watchlist to
automatically block visitors listed in a watchlist and notify watchlist managers. For other
situations, you might only notify watchlist managers. You might also create an individuals
watchlist to notify all watchlist managers when VIPs check-in at your site.
- Companies watchlist
-
 A Companies watchlist is used to monitor visitor
check-ins for companies of interest listed in a watchlist and then take action as
specified in the watchlist configuration. For example, you might create a companies
watchlist to automatically block access for people with a Company
name, company domain, or email address domain that matches specific companies of interest
listed in this watchlist.
A Companies watchlist is used to monitor visitor
check-ins for companies of interest listed in a watchlist and then take action as
specified in the watchlist configuration. For example, you might create a companies
watchlist to automatically block access for people with a Company
name, company domain, or email address domain that matches specific companies of interest
listed in this watchlist.
-
If you have Watchlist entry permissions activated for your
account, in the Watchlist entry permissions section, select one of
the following:
- All watchlist managers can modify or delete watchlist entries
- Assign a watchlist entry permission for each watchlist entry
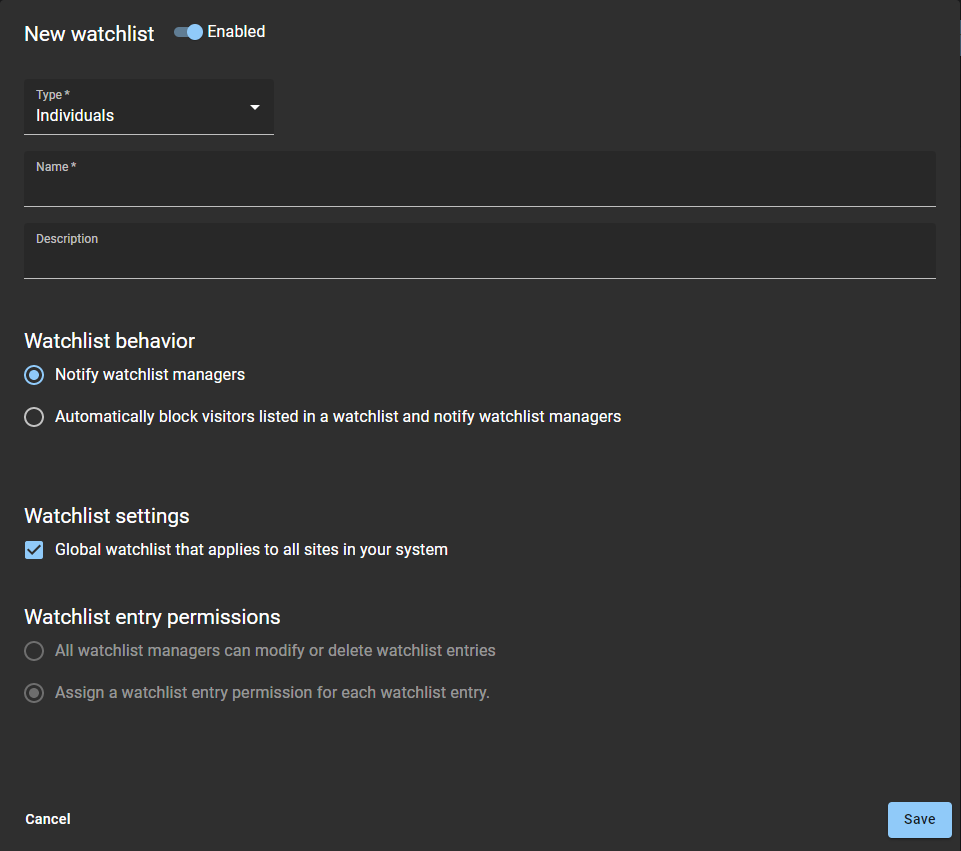
Watchlist entry permissions are assigned at a more granular site level in each watchlist entry. This means that only watchlist managers for the site can modify or delete entries.Figure 1. Example 1: Individuals block watchlist - configured as a global watchlist to automatically block visitors and notify watchlist managers. 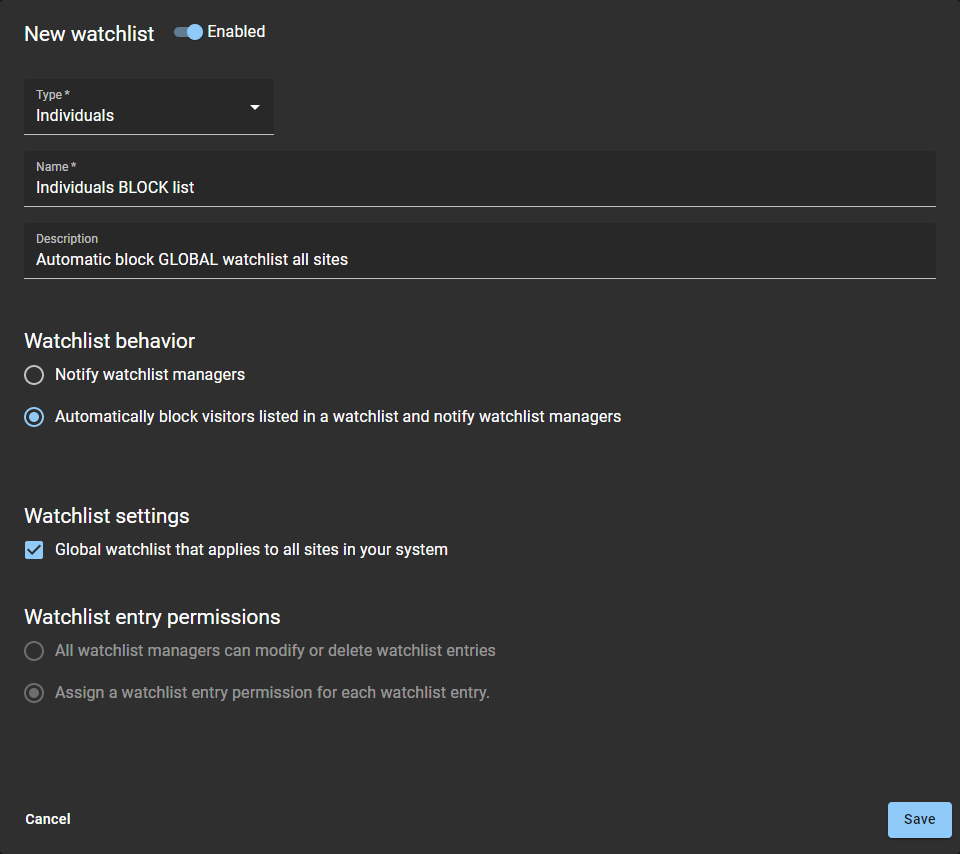
Figure 2. Example 2: Companies notify watchlist - configured as a site-specific watchlist to notify watchlist managers when visitors are from a competitors company. 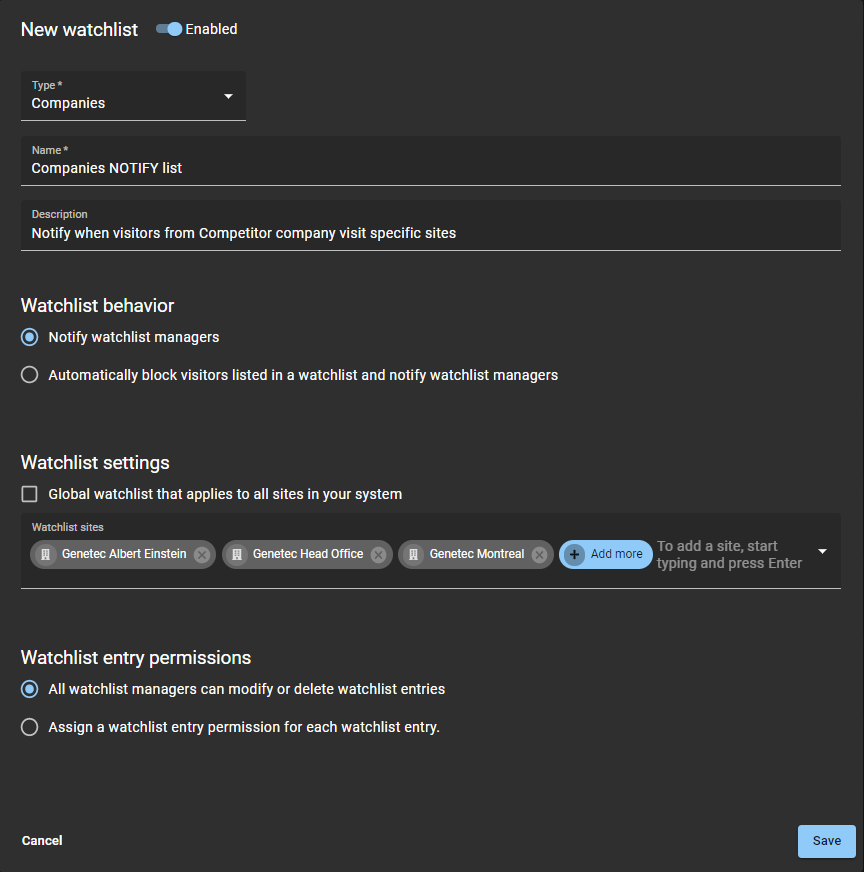
Example
Watch this video to learn more. Click the Captions icon (CC) to turn on video captions in one of the available languages.