Configuring connection settings
2024-09-12Last updated
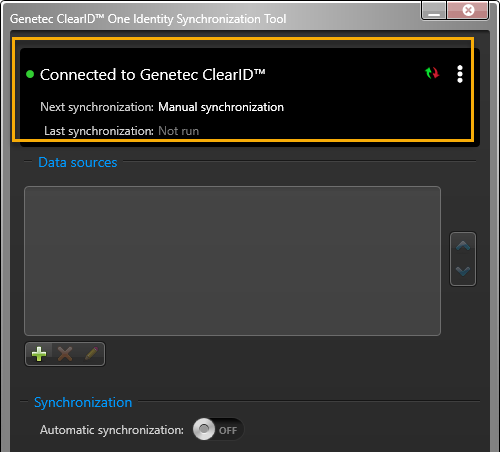
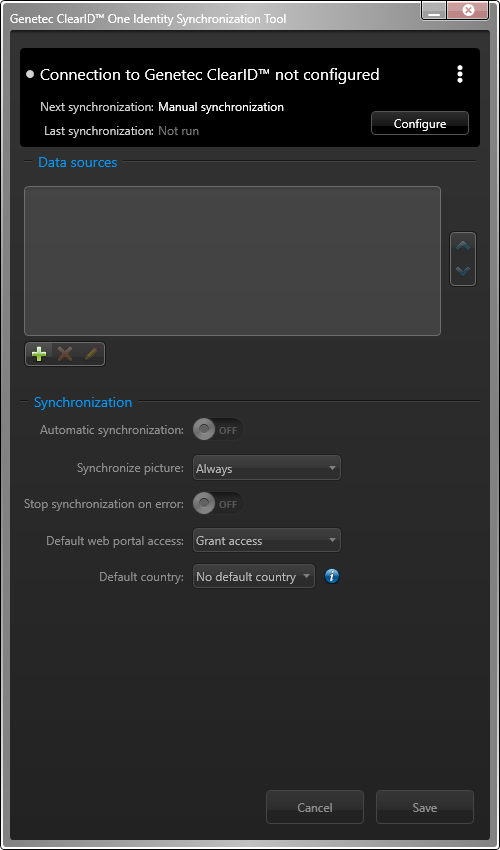
Before you can synchronize an external system with Genetec ClearID™, you must first configure the Genetec ClearID™ One Identity Synchronization Tool connection settings.
Before you begin
- Verify the attributes values for the identities that you want to import before synchronizing your identities.
- Download a service authentication key.
Procedure
-
Open the One Identity Synchronization Tool
(OneIdentityConfigurationTool.exe) and configure your
settings.
-
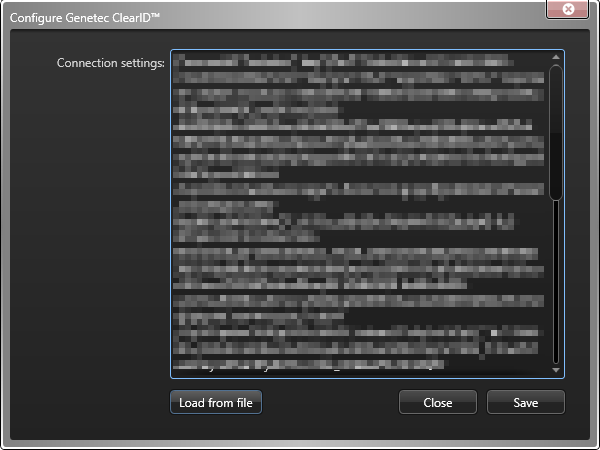
Configure your connection settings.
-
Navigate to and select your authentication key.
-
Navigate to and select your authentication key.