
Customizing the Self-Service Kiosk configuration
2026-01-21Last updated
Customize the appearance and behavior of the Genetec ClearID™ Self-Service Kiosk to enhance your visitor experience. You can configure kiosk themes, logos, and personalized welcome or assistance messages shown during check-in and check-out.
Before you begin
What you should know
- Only Site owners and Account administrators can customize the kiosk configuration options.
- Any changes made to kiosk options are synchronized with your kiosk every 60 seconds.
Best Practice:
For optimum results, use transparent
.PNG images when customizing your welcome screen image.
Procedure
-
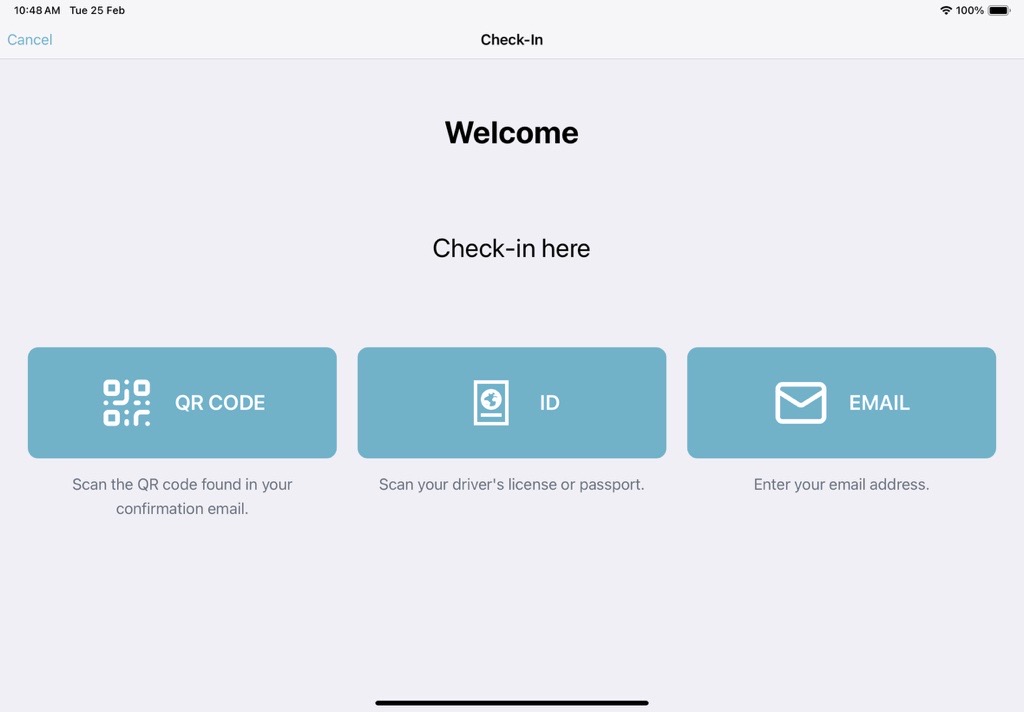
In the Check-in options section, select the options to display
when visitors check in or out.
Enable or disable check-in methods: QR code, ID, and email.
-
(Optional)
In
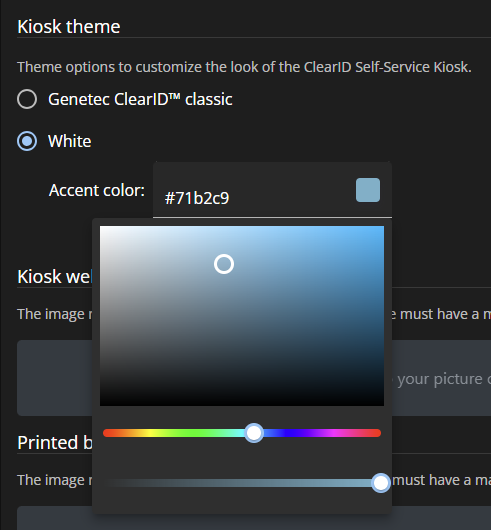
the Kiosk theme
section,
customize the look of the kiosk.
-
If you selected White, select an accent color for
buttons and heading text.
 The following example shows the white theme with a blue accent color.
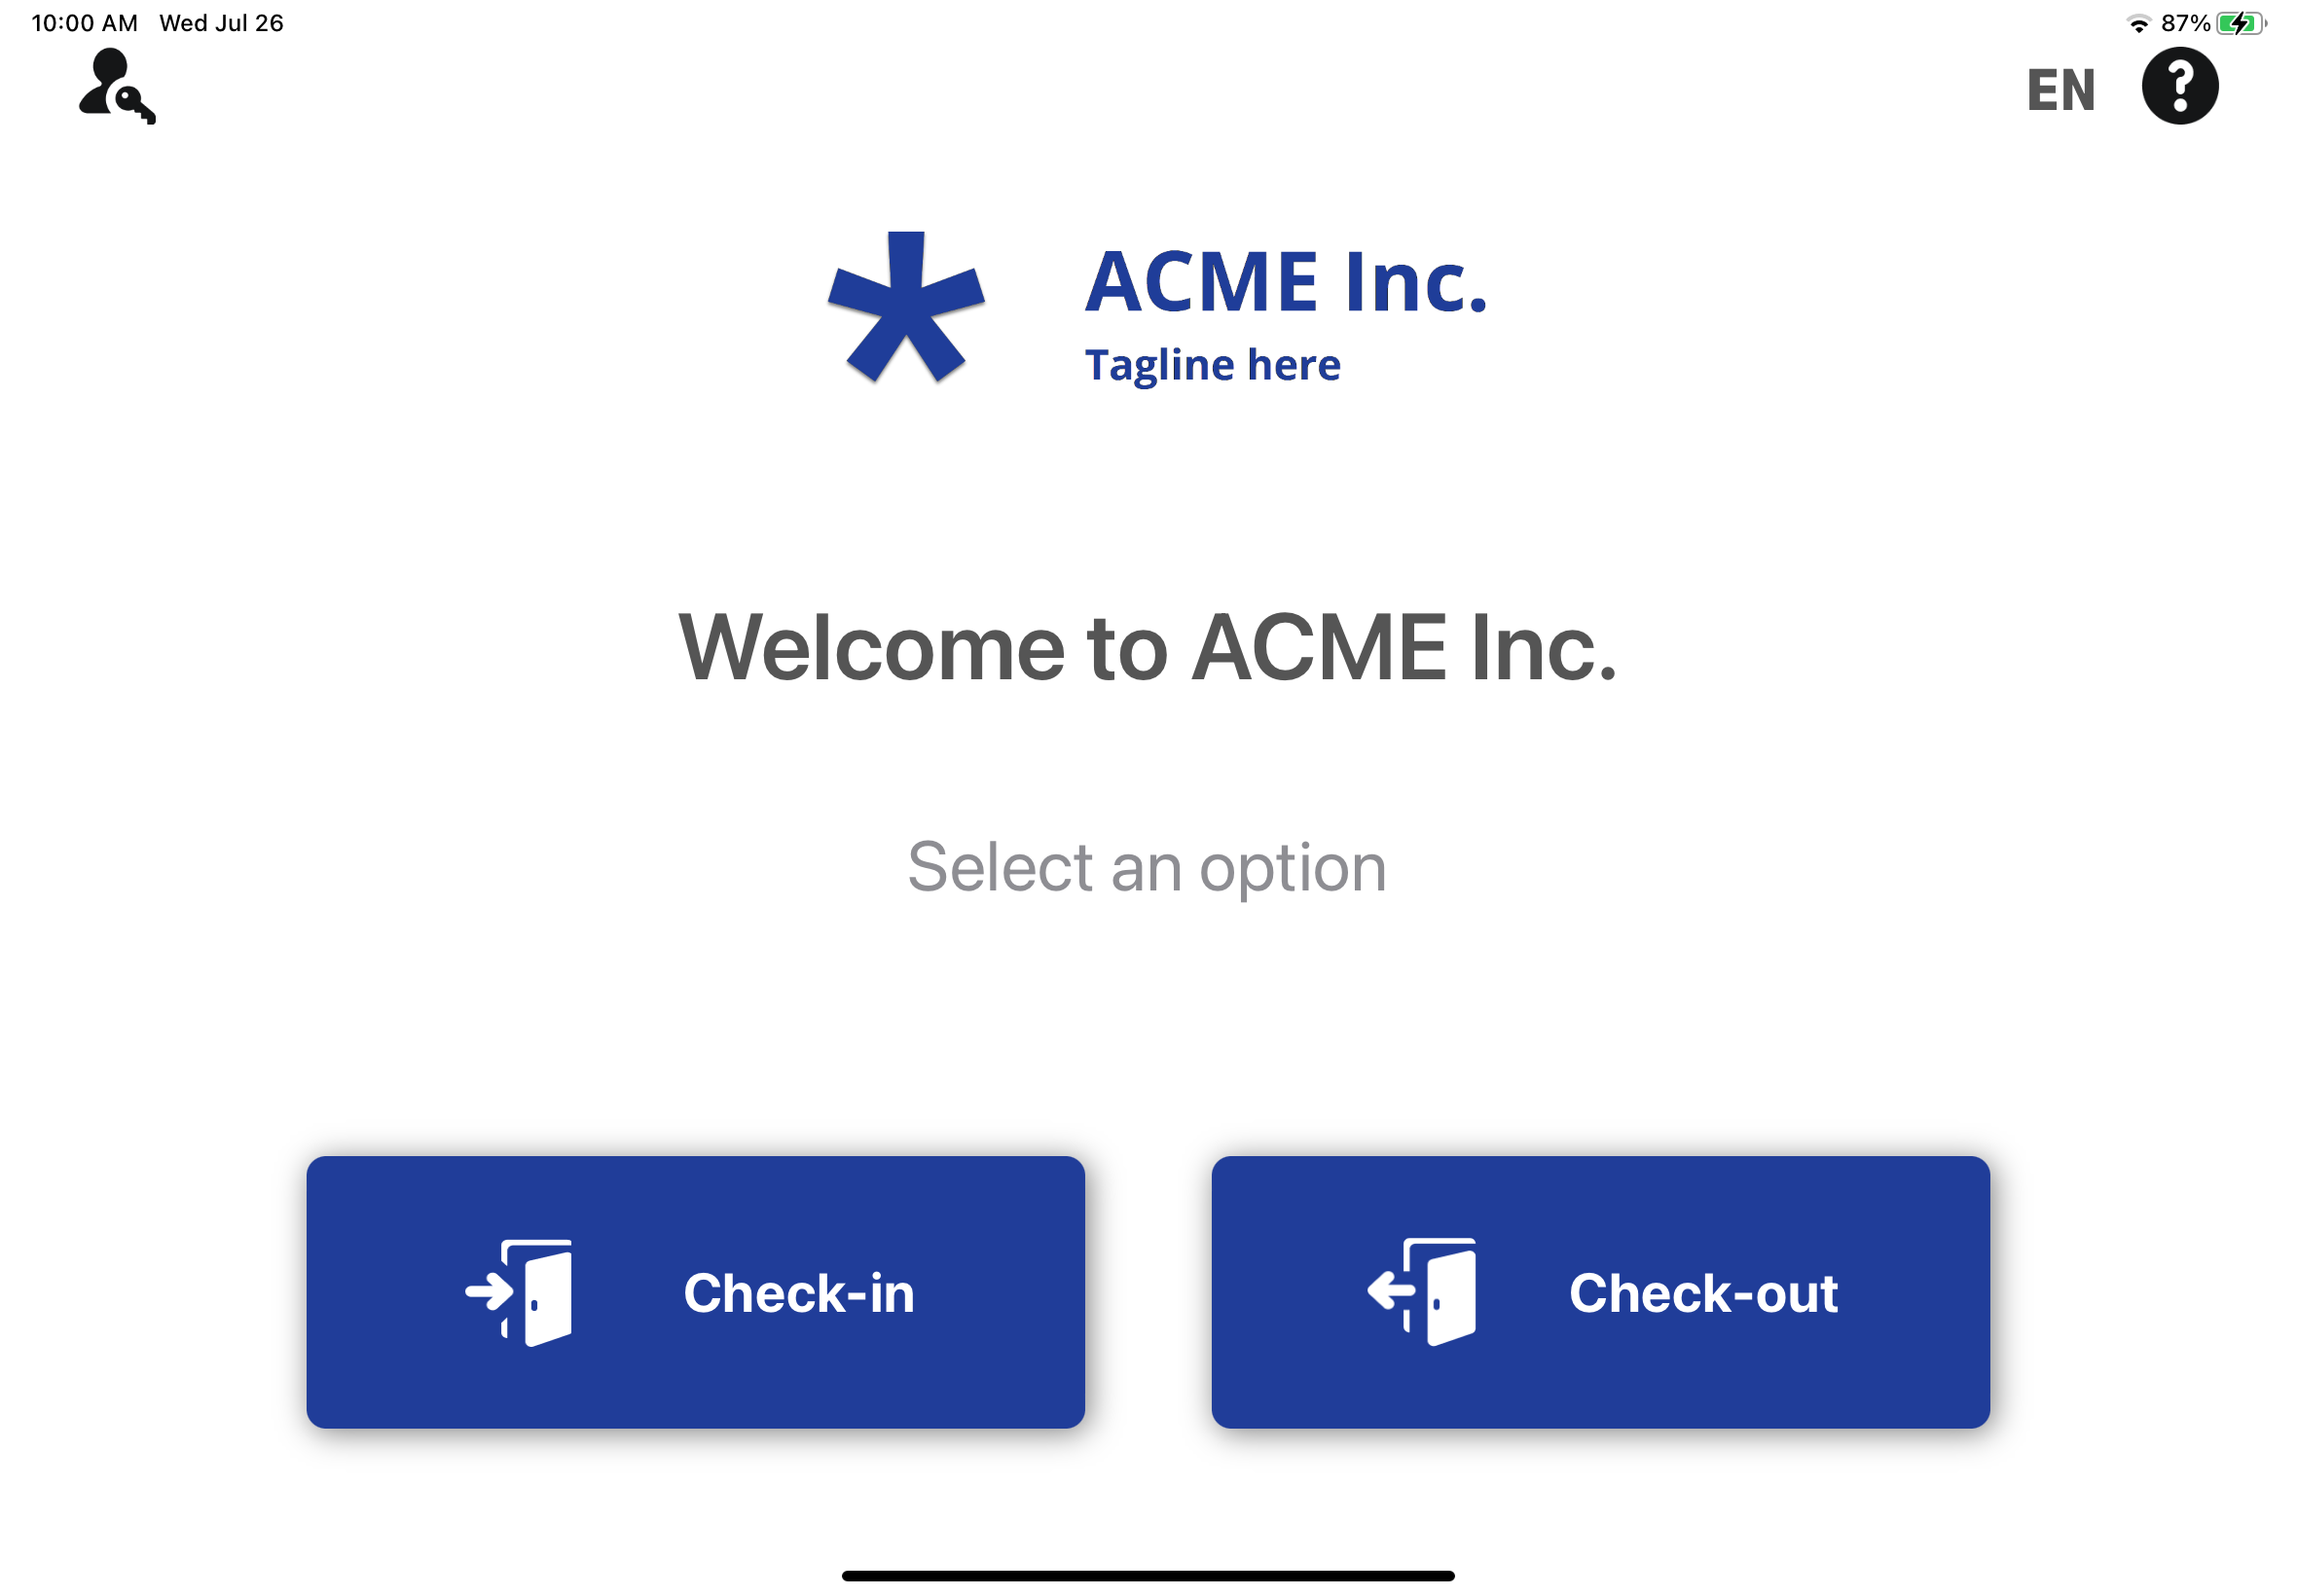
-
If you selected White, select an accent color for
buttons and heading text.
-
(Optional)
In
the Kiosk welcome screen
section,
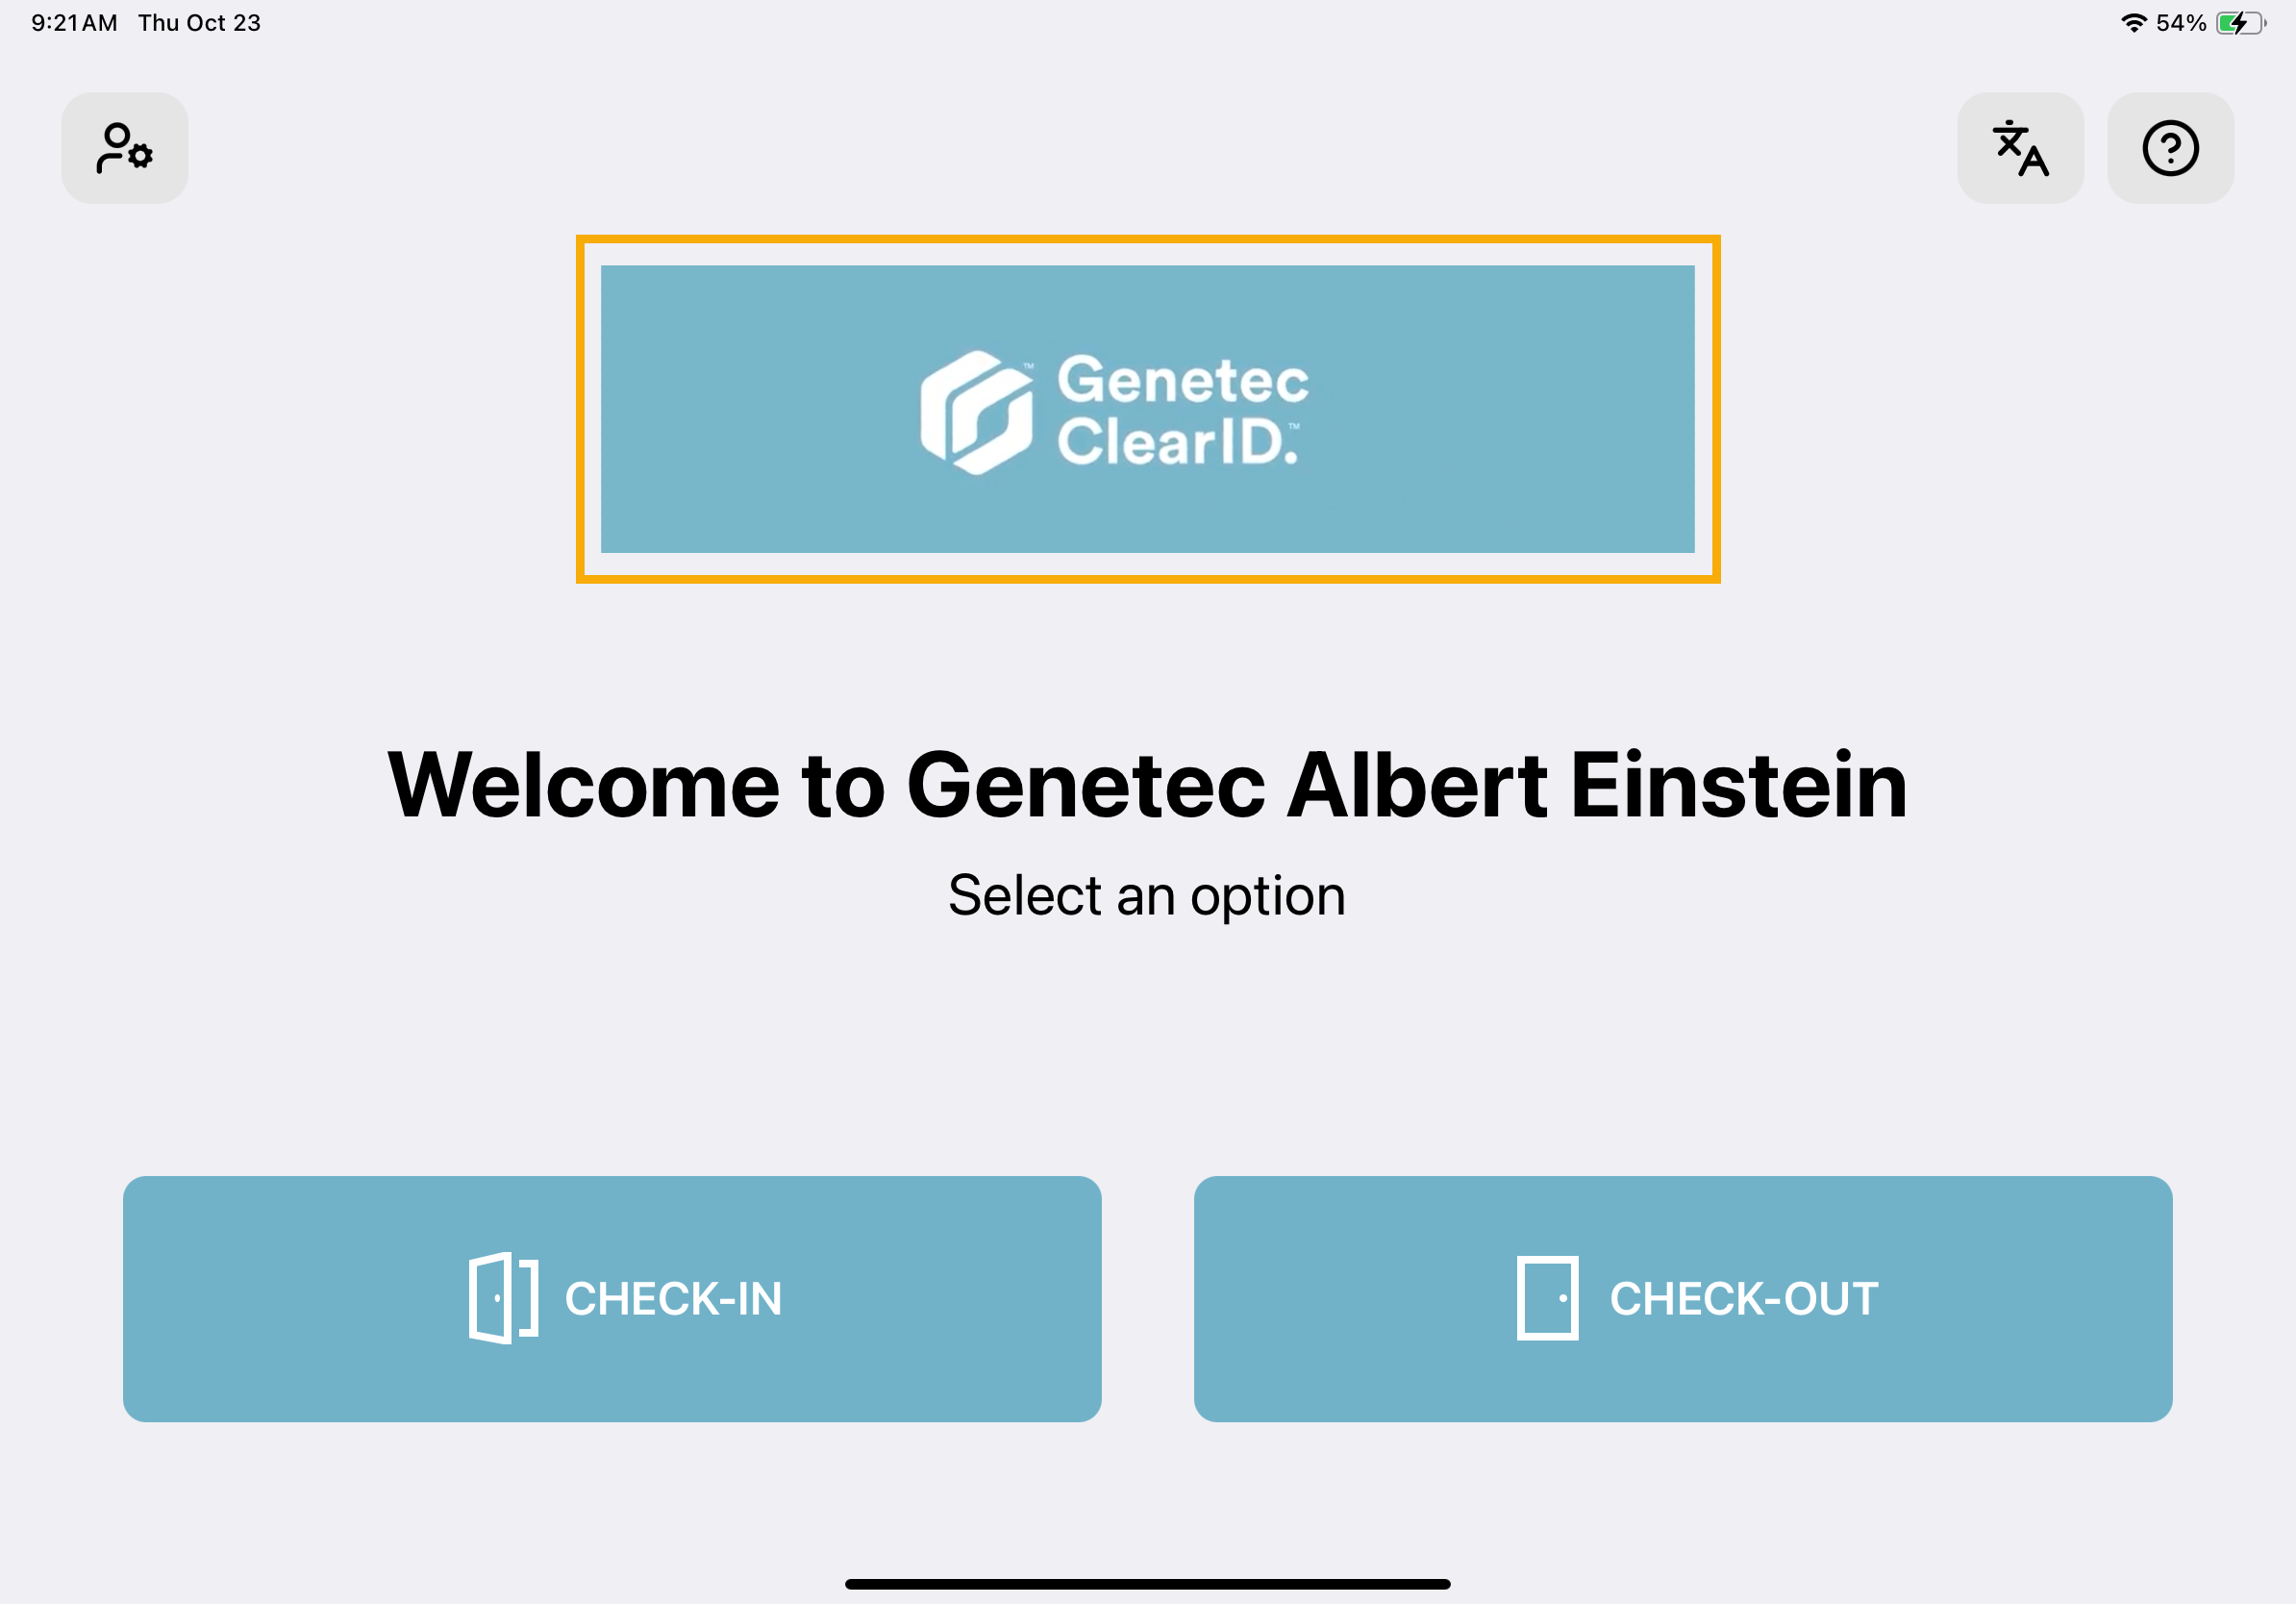
upload an image to use as company name or logo for the kiosk.
The following example shows the welcome screen with a custom logo image:
Example
Watch this video to learn more. Click the Captions icon (CC) to turn on video captions in one of the available languages.