2025-02-25Last updated
You can configure video watermarking for specific users and user groups. When enabled,
all video requested by those users includes identifying text.
What you should know
- Watermarking can't be configured on cameras. It can only be configured for users or user
groups.
- When video watermarking is configured for groups, all users with the group inherit the
watermarking configuration.
Procedure
-
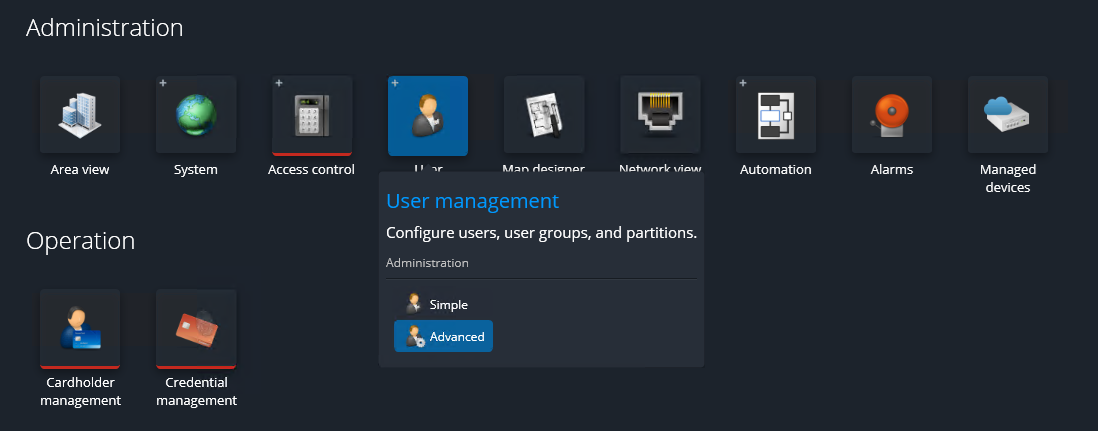
From the homepage in Genetec™ Configuration desktop, click .
-
From the entity browser, select a user or group to configure.
-
Click the Advanced tab.
-
Set the Enable video watermarking option to
Override.
-
Turn on Enable video watermarking.
The
Configure button is displayed.

-
Click Configure.
The
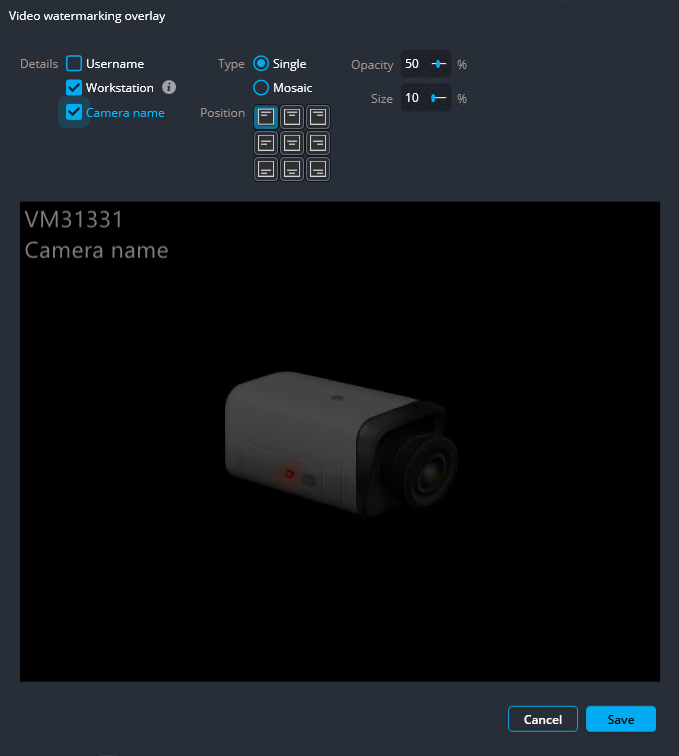
Video watermarking overlay dialog box opens.

-
Configure the video watermark.
- Details
- Select Username, Workstation, or
Camera name to add that information to the watermark. At
least one detail must be selected.
- Type
- Select Single for a single watermark, or
Mosaic to repeat the watermark text.
- Position (Single type only)
- Select the location of the watermark text on the video.
- Orientation (Mosaic type only)
- Select Horizontal or Diagonal to set
the orientation of the watermark text.
- Opacity
- Set the opacity of the watermark text. 100% is opaque.
- Size
- Set the size of the watermark text. To ensure a consistent look, text size is
independent of the video resolution.
Note: The preview screen shows how the watermark looks on the video
stream.
-
Click Save.
-
Click Apply.
The watermark text is added to all live, playback, and exported
video processed for the affected users.


