
Configuring maps as floors of a building
2026-03-17Last updated
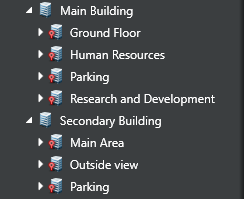
To navigate between maps quickly, you can designate two or more maps as floors of the same building.
Before you begin
What you should know
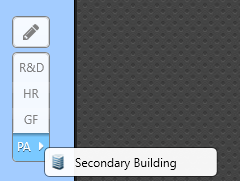
Each floor is linked to all other floors in the same building. You can navigate between floor maps by pressing the button for the floor you want to see. If an area is included in multiple buildings, such as a shared parking lot, the floor controls can be used to navigate between buildings.
If the floor maps are georeferenced, the map view stays on the same part of the map when navigating between floors. Press and hold the Ctrl key while changing floors to restore the default view.
Procedure
-
Open the Floors dialog box in one of the following ways:
- Click .
- In the Map designer toolbar, click the
Floors (
 ) button.
 - Click the overlaid Edit floors (
 ) button.

-
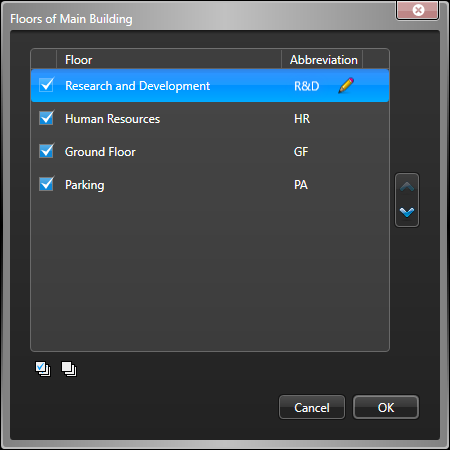
Select two or more check boxes to designate maps as floors of the parent area. Each
floor has a configurable abbreviation to represent the map on the floor controls.
-
If needed, use the arrows (

 ) to
reorder the floors. Floors are presented in this order in the floor controls.
) to
reorder the floors. Floors are presented in this order in the floor controls.
Note:
The Edit floors () button is only available in
Configuration desktop.