Creating access rules

2026-01-15Last updated

To control access anywhere on your site, you can apply access rules to areas, doors, and elevators in the Access control task.

Before you begin

Create schedules to apply to access rules.

What you should know

You need the Add access rules privilege.

Procedure

  1. From the vertical navigation bar, click Access control.
  2. Click the Access rules tab.
    The Access rules page opens.
  3. Click Add access rules.
    The Add access rules pane opens.
  4. Enter a name for the access rule.
    Best Practice:
    Use a descriptive name to easily determine what each rule does. For example, Lab technicians only or Regular employee hours.
  5. From the Schedule list, select a schedule.
  6. Select whether to grant access or deny access when the rule is active.
    Best Practice:
    Schedules typically grant access. Access is denied when schedules are inactive. Use explicit deny schedules only for exceptions.
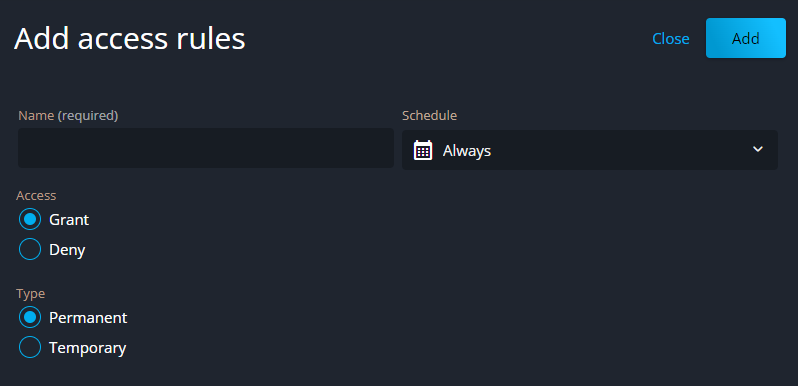
  7. Select whether the rule is permanent or temporary.
    If the rule is temporary, enter an activation and expiration date.
    Add access rules in Security Center SaaS.
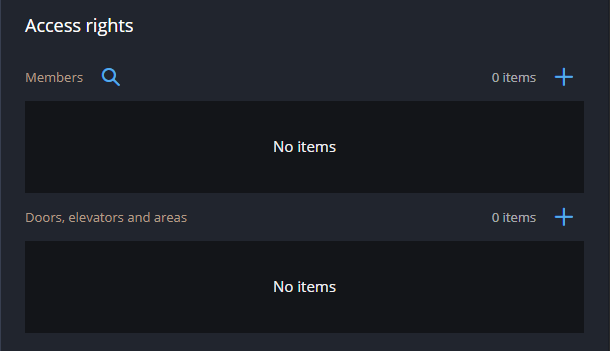
  8. In the Access rights section, select the cardholders and entities:
    1. In the Members section, select the cardholders or cardholder groups that the rule applies to.
    2. In the Doors, elevators and areas section, select the entities that the rule applies to.
    Add access rights in Security Center SaaS.
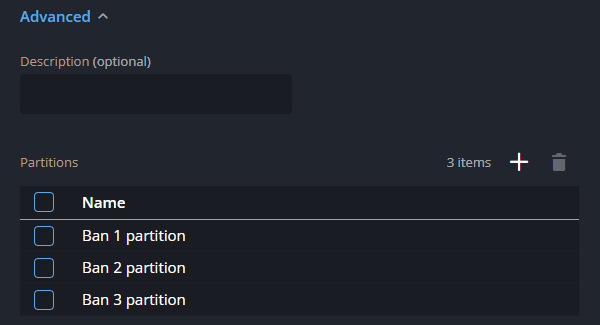
  9. Click Advanced and configure the advanced settings of the access rule:
    Configure advanced settings for access rules in Security Center SaaS.
The access rule is created.