Click Alarm
> VCA, then click Configure in Bosch Configuration
Manager.
Right-click on your camera, select Set session
authentication..., and then re-enter camera credentials.
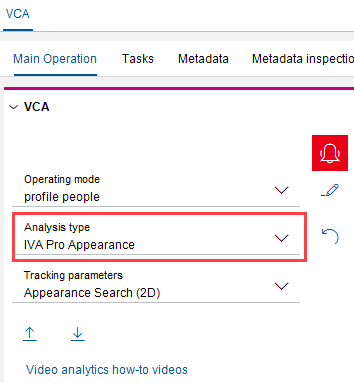
Select an analysis type:
IVA Pro Appearance to detect people.
IVA Pro Perimeter to detect vehicles.
Note:
If your camera was configured for investigation purposes after it was added to
Security Center SaaS, you must manually synchronize
the camera to access new features.
D2C cameras only: Connect the camera to cloud services.
Once successfully activated, the Connectivity State
displays Available.
Select Security Center SaaS.
Accept the Remote Portal terms and conditions and click
Continue.
Select a Region and click
Connect.
Note:
Select the region where your camera is located to set your camera to use the
Bosch cloud region in your area.
Once successfully connected, the Connectivity state
displays Registered.
Click Close.
The Onboarding Genetec Security Center SaaS section displays
important information about your camera. Make a note of the device serial number and
device secret to use later when adding your camera.
Important:
When the Bosch
camera is restarted in Security Center SaaS or the camera web page, the device secret is
automatically changed.
Under Onboarding Genetec Security Center SaaS, click
Connect.
When the Status shows Waiting for claiming of the
device, the camera is ready to be added to Security Center SaaS.
If needed, click Open Security Center SaaS and sign in.

 Note:If your camera was configured for investigation purposes after it was added to Security Center SaaS, you must manually synchronize the camera to access new features.