
Exporting and printing maps
2026-03-20Last updated
You can export or print your Security Center SaaS maps to PNG or PDF, or print physical copies to share important information outside Security Center SaaS.
What you should know
To include entities in the exported or printed view, use map layers to show or hide the entities you want. Cluster bubbles appear the same in exported and printed maps.
To export files as a PDF, print using Microsoft® print to PDF.
Procedure
-
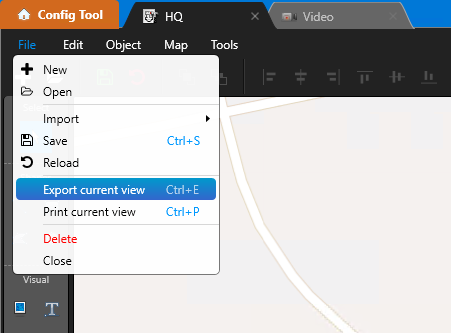
Export your map in the preferred format:
- To export as a PNG:
- Click or press Ctrl+E.
- Click or press Ctrl+E.
- To print or generate a PDF:
- Click or press Ctrl+P.
- Select your printer or the Microsoft print to PDF printer.
- Set any other settings from the print options, and click Print.
The current map view is exported or printed. - To export as a PNG: