2026-03-17Last updated
You can create personalized site maps and building floor plans by importing their
background images from image files.
What you should know
All maps must be attached to an area.
Procedure
-
From the Configuration desktop homepage, open the Map designer
task.
-
Click Create.
-
In the entity tree, select an area or a parking zone to attach your map to, or click
New area.
-
(Optional) Select the icon to represent your area with a map (Default =
 ).
).
-
Click Next.
-
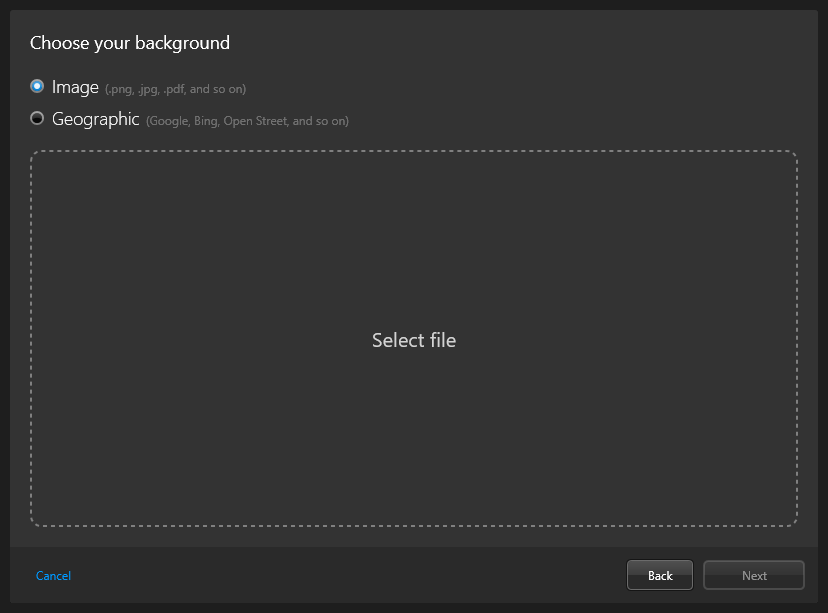
For the type of map background, select the Image option, and
click Select file.
-
In the file browser, select a file and click Open.
Note: Image files, PDF files, and AutoCAD (DXF and DWG) files are supported.
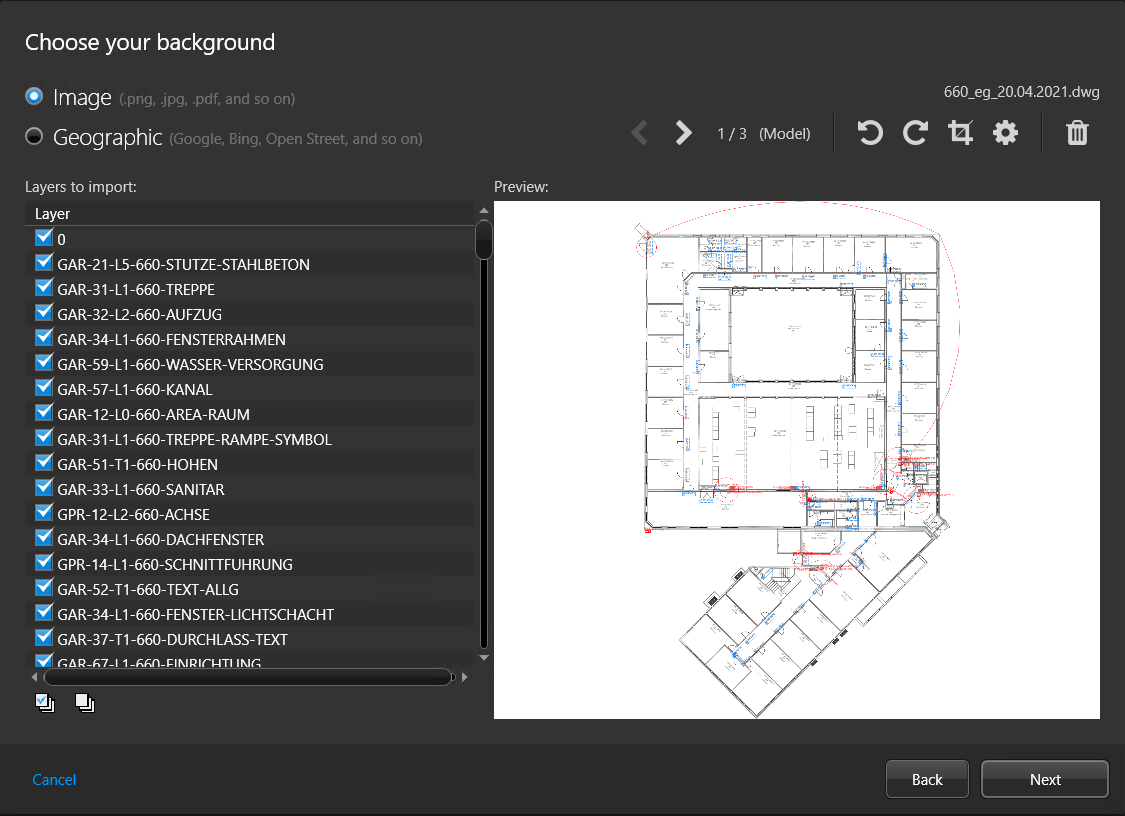
The selected image is shown in the preview window.
-
If necessary, select which layers or page to import, and then rotate and crop the
image.
Note: The wizard does not create one map per layout. Do so manually.
-
Click Advanced settings (
 ), and set the following options:
- Resolution
- The resolution of the image.
- Background
- The background color of the image.
-
Click Next.
-
(Optional) If you are creating the map from an AutoCAD file, import map objects from the AutoCAD file.
-
Click Next.
-
Set your map scale using one of the following options:
Note: Instead of setting the map scale, you can georeference the map.
- Room
- Floor plan for a small area such as a cafeteria or an auditorium.
- Building
- Floor plan for a large area such as a building floor, a stadium, or a
warehouse.
- Campus
- Site map for an airport, a mall, or a university campus.
- City
- City map. For example: Montreal, New York, Paris, London, Tokyo.
-
Click Create to generate the map.
The created map is displayed in the Map designer workspace.
-
If required, set a specific scale for the imported map
image.
-
Configure the default map view and other
presets.
-
Configure the default information to display when
someone opens this map.
-
In the Map designer toolbar, click
Save (
 ).
).
After you finish
Add map objects to your map.