Checking in a walk-in visitor
2026-07-13Last updated
To give an unplanned visitor access to visit your site, you can use the walk-in visitor check-in option.
Before you begin
- Set your Front desk location.
- To check in a walk-in visitor using the Front desk task, you must be assigned the Front desk role.
What you should know
Procedure
-
Click Walk-in visitor check-in and follow the on-screen prompts
to complete the required information.
 Note:The picture taken during visitor check-in is only stored in our Azure cloud storage and is not sent to third parties.
 -
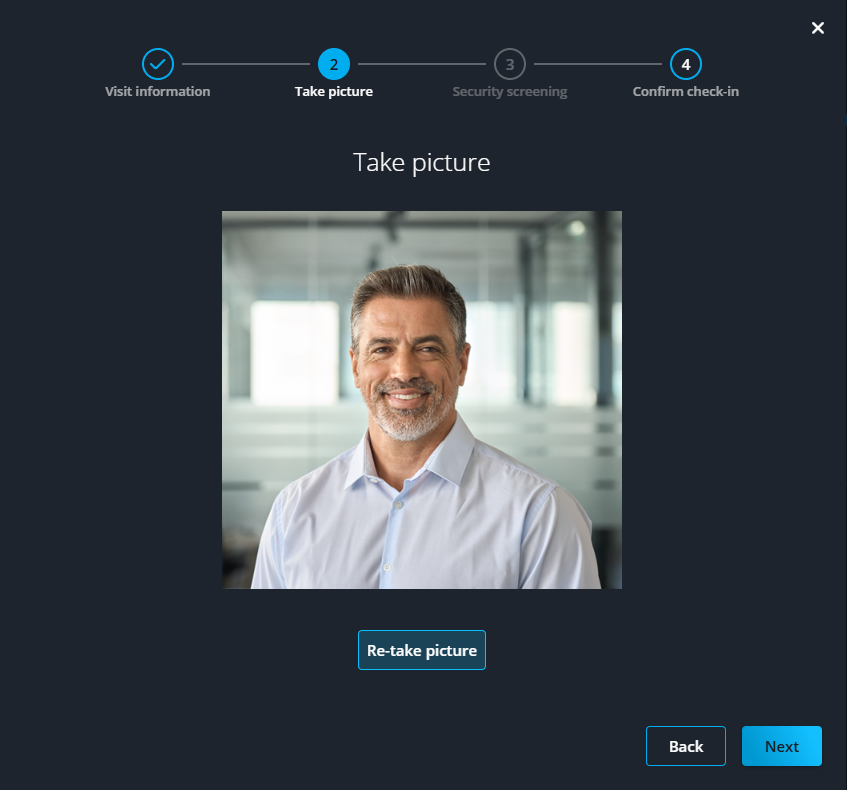
At the picture-taking step, instruct your visitor to stand in front of the camera for a
front-facing photo.
-
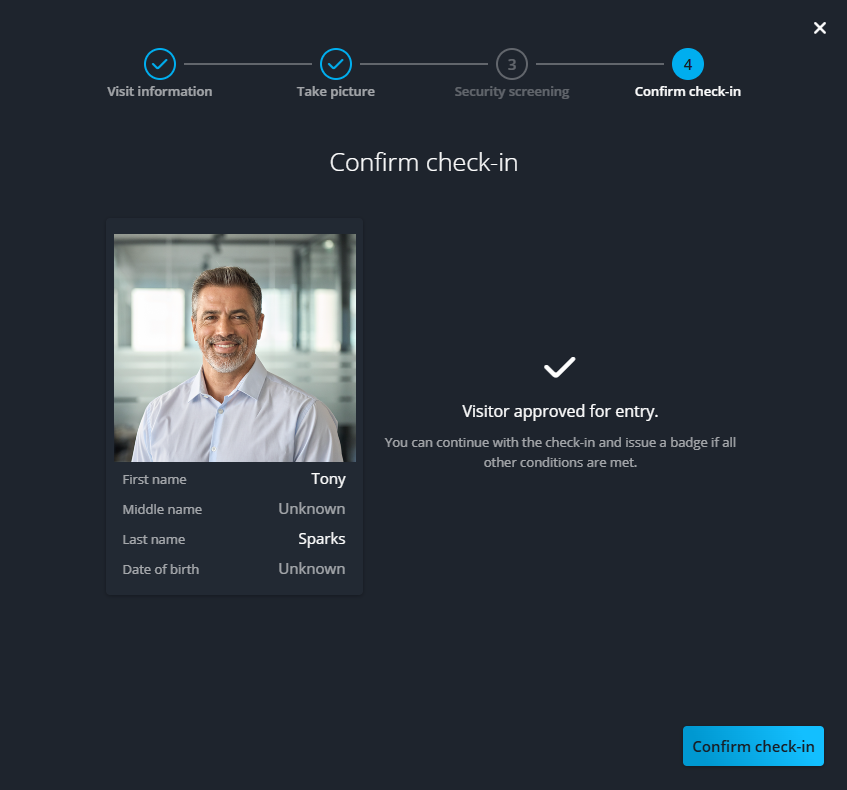
In the Confirm check-in section, review the information for
accuracy and click Confirm check-in.