
Creating PTZ presets
2025-11-25Last updated
To efficiently monitor specific areas of interest in the camera view, you can create PTZ presets. These presets are used to move your PTZ camera to a predefined position and set a specific zoom level.
Before you begin
What you should know
In Security Center SaaS, Axis cameras use preset 0 as their home position. After a restart or update, the cameras automatically return to this position.
Procedure
-
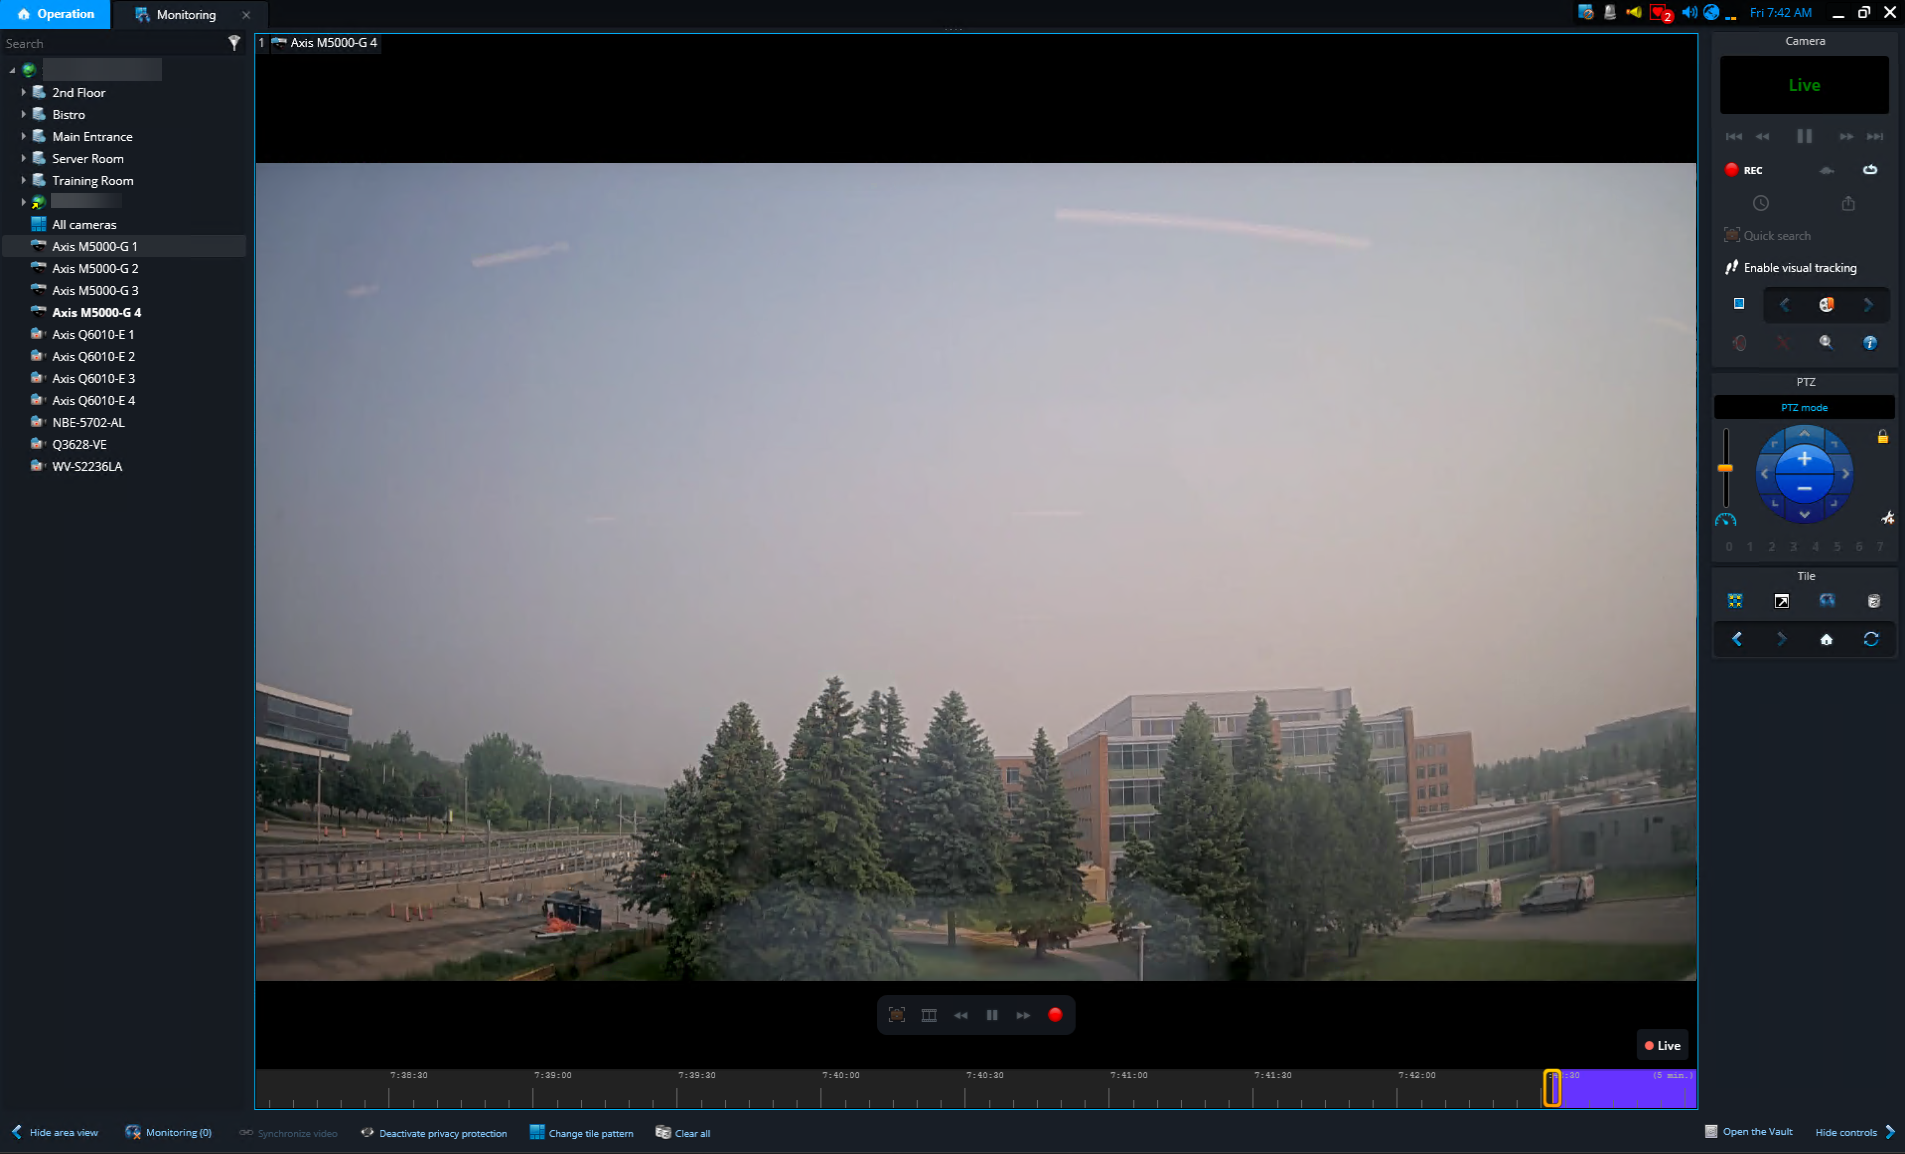
To display a PTZ camera, double-click or drag it from the area view into a tile.
-
Move your PTZ camera to the required position and zoom level in the camera view.
-
Zoom in and out one of the following ways:
- To quickly zoom in and out, use the + and
- controls in the PTZ widget. The
PTZ speed slider (
 ) next to the zoom controls defines the zoom speed.
 - Move your mouse pointer over the video tile, and then move the blue zoom slider control up to zoom in or down to zoom out.
- Use your mouse wheel to zoom in and out.
- To quickly zoom in and out, use the + and
- controls in the PTZ widget. The
PTZ speed slider (
-
Zoom in and out one of the following ways:
-
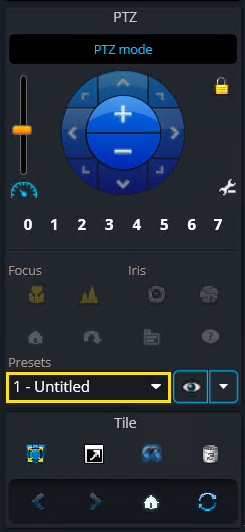
In the PTZ section of the right sidebar, click Toggle
to advanced mode (
 ).
).

-
In the Presets section, from the Presets
list, select a preset.
 Note:Remember that in Security Center SaaS, Axis cameras use preset 0 as their home position. After a restart or update, the cameras automatically return to this position.
 -
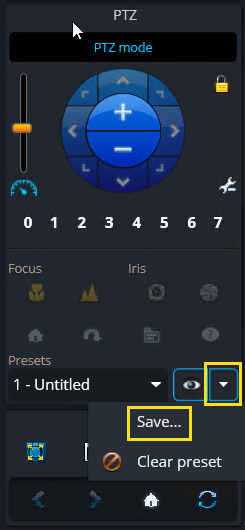
Click Go to PTZ preset (
 ) and click Save.
-
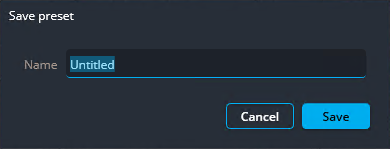
In the Save preset dialog, enter a meaningful name and click
Save.
Example
Watch this video to learn more. Click the Captions icon (CC) to turn on video captions in one of the available languages.