Adding cameras to a Genetec Cloudlink appliance using automatic discovery
2026-02-02Last updated
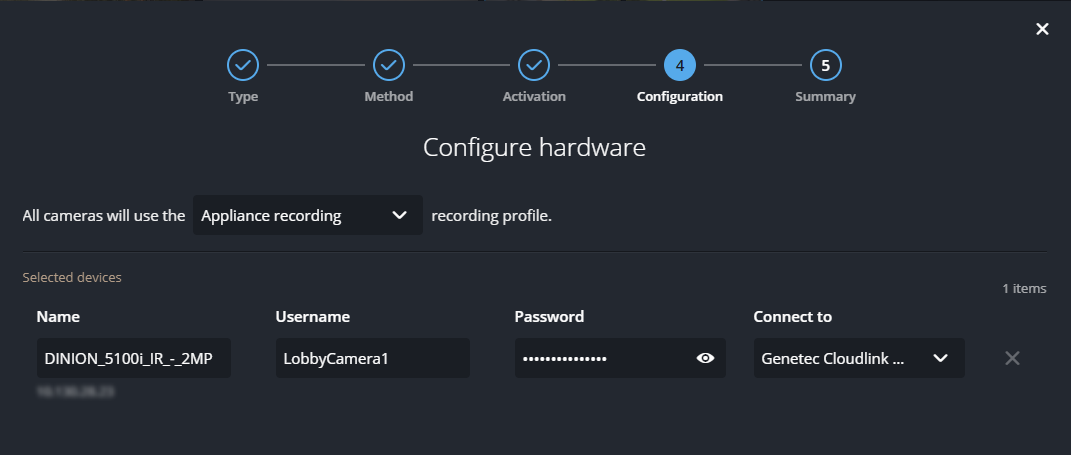
Use automatic discovery to add cameras on the local network to a Genetec Cloudlink™ appliance in Security Center SaaS.
Before you begin
- Ensure that the Cloudlink appliance is online.
- Have the camera username and password ready.
- Ensure that WS-Discovery is enabled on the camera and that discovery is allowed on the local network.
What you should know
- Cameras must be on the same subnet as the associated Cloudlink appliance.
- Only Axis and ONVIF Profile S cameras are currently supported.
- ONVIF Profile S cameras must support digest authentication, though some older models may be compliant without it.
- For information about the maximum number of devices you can add, see Genetec Cloudlink appliance capabilities.
Procedure
After you finish
- To configure basic camera settings, select the device and click the Settings tab in the side pane.
- If you need to change any camera settings that aren’t available in the Configuration task, sign in to the device directly.


