After initially starting a Genetec Cloudlink™ appliance and connecting it to the
network, you must add it to Security Center SaaS before it can be used.
Before you begin
For information on your appliance's initial setup and network configuration, see your
Cloudlink appliance's documentation.
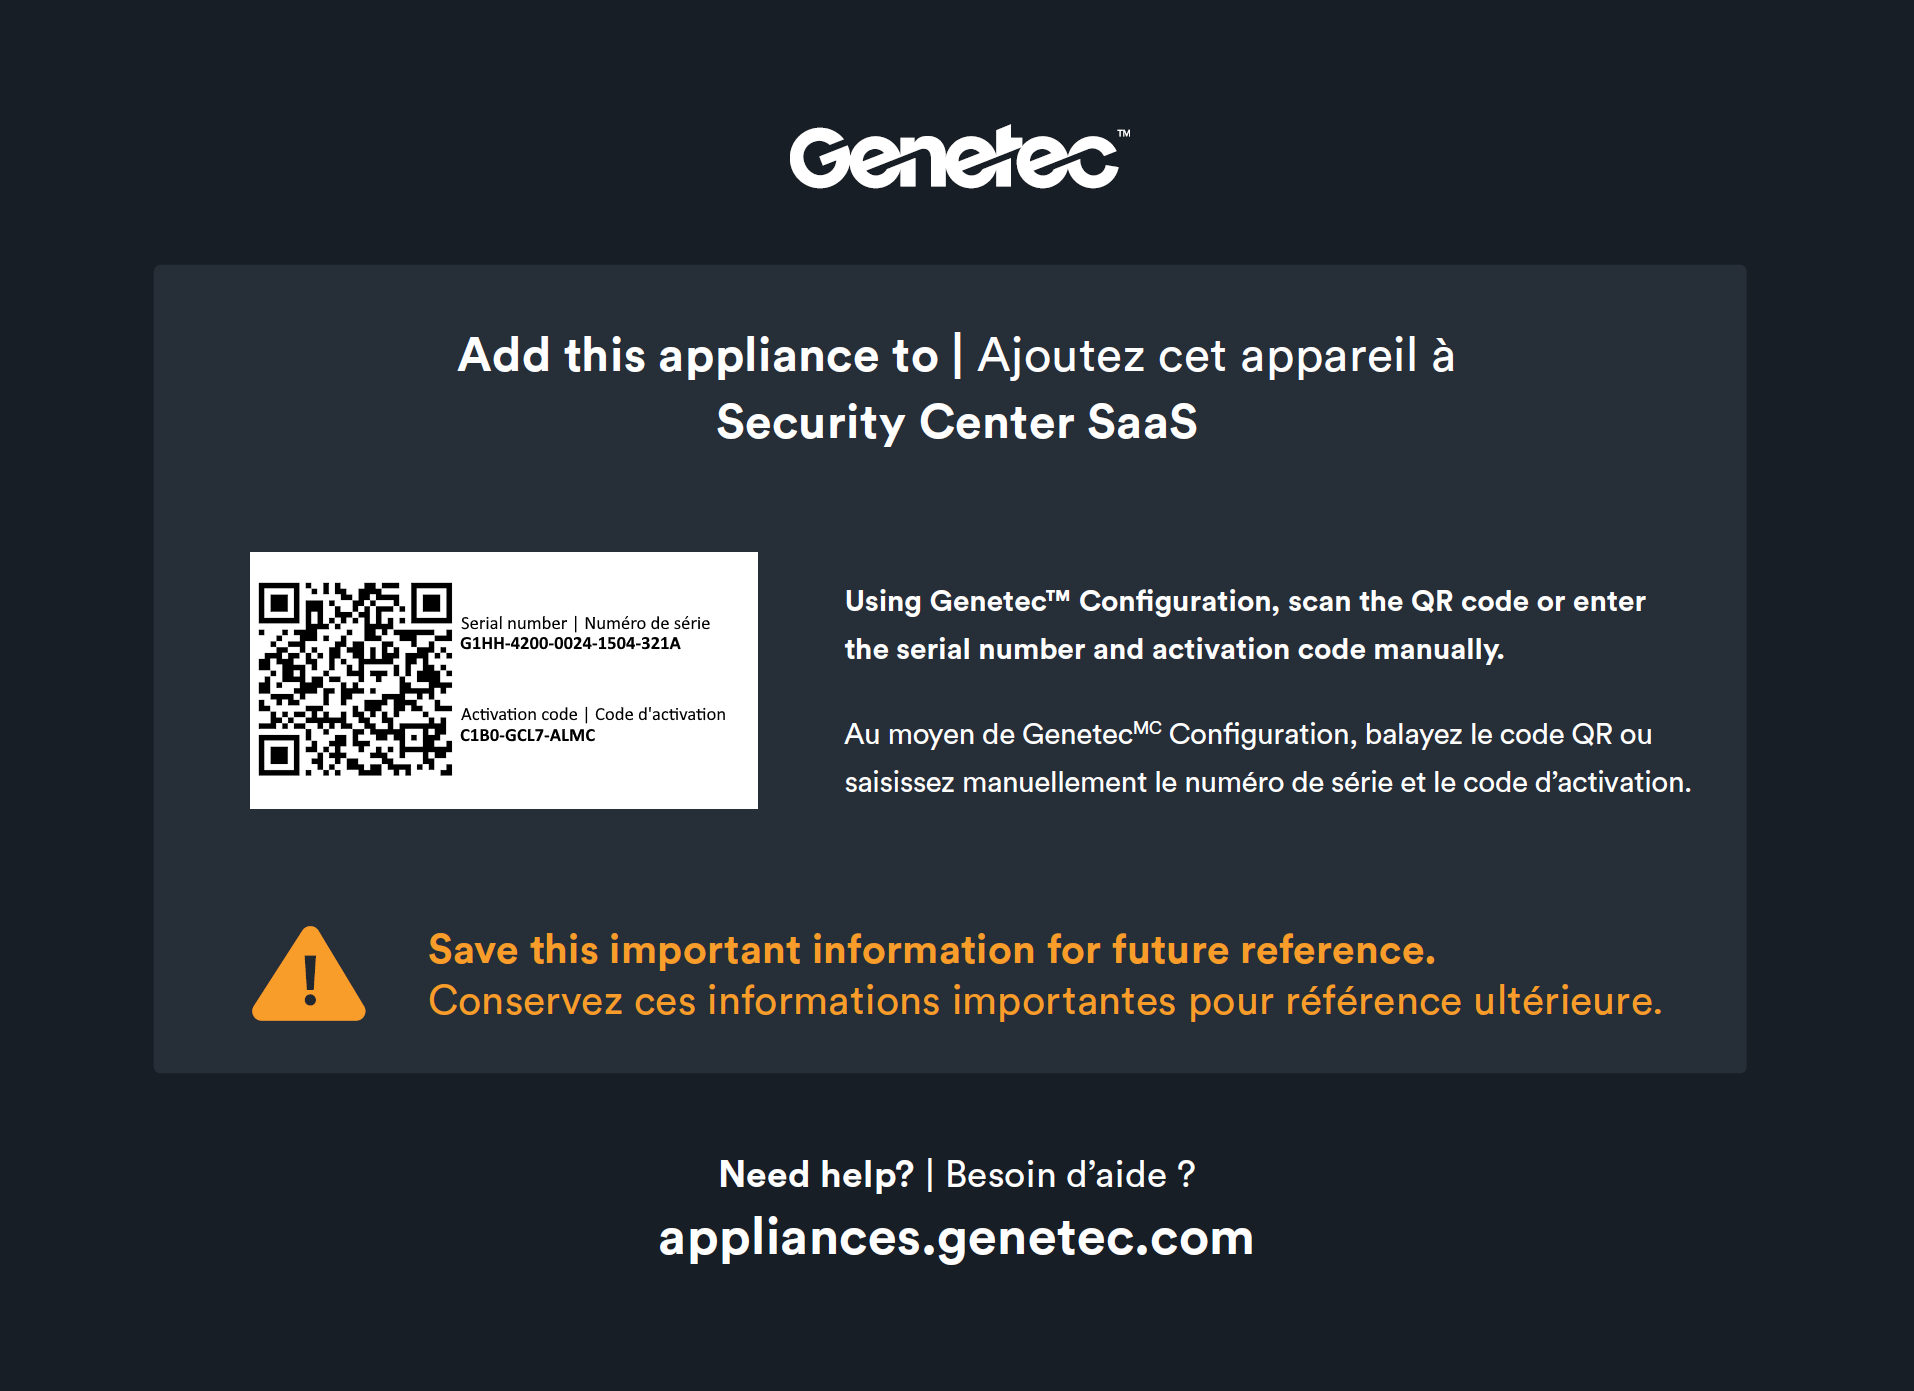
Have the serial number and activation code ready. You can find this information on the
insert card included with the appliance.
What you should know
Time zones are managed in Security Center SaaS. Adding a
Cloudlink appliance to it overrides the time zone setting in the appliance portal and makes it
read-only.
Procedure
On the Devices page in the Configuration
task, click Add device.
On the Type page, click Appliance.
On the Activation page, enter the serial number and activation
code found on the card included with the appliance using one of the following methods, and
then click Continue:
Scan the QR code
Scan the QR code using the webcam displayed in the wizard. If required, allow or
enable camera access in your web browser. Position the QR code in front of the
camera, ensuring it’s centered and clearly visible. The Serial
number and Activation code fields will populate
automatically.
Enter manually
Enter the appliance Serial number and Activation
code in the fields provided.
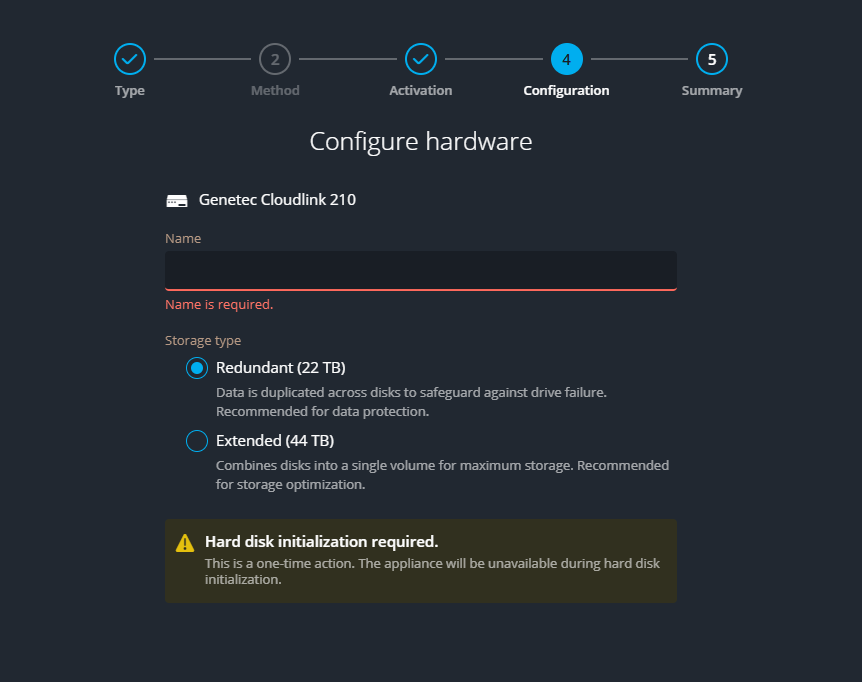
On the Configuration page, enter a name for the appliance.
If you have a Genetec Cloudlink 210 with dual hard drives (GCL-210-M3JA), select a
Storage type.
Redundant
Duplicate data across disks to protect against drive failure. This is the
default.
Extended
Combine disks into one volume for maximum storage.
Note:
To change the storage type, you must delete and re-add the
appliance, which erases all data on the drives.
Click Add.
The initial setup might take a few minutes. During this time, the appliance shows
Updating while operating system and application updates are downloaded and
installed.
Tip:
To follow updates and see status
information, select the appliance tile on the Devices
page.