
Adding Hanwha direct-to-cloud cameras
2026-07-09Last updated
To view, record, and upload video from Hanwha Vision direct-to-cloud (D2C) cameras to Cloud Storage, you must add your cameras in Security Center SaaS.
Before you begin
- Verify that your Hanwha camera is supported. Refer to the Supported Device List.
- Update your camera to the latest compatible firmware.
- Download the Genetec Security Center SaaS Connector application.
- Ensure that your camera has internet connectivity and can reach the required endpoint domains.
- If the camera has been activated on another Security Center SaaS system, reset it to factory default settings.
Procedure
-
Click the Setup icon at the top of the camera screen.

-
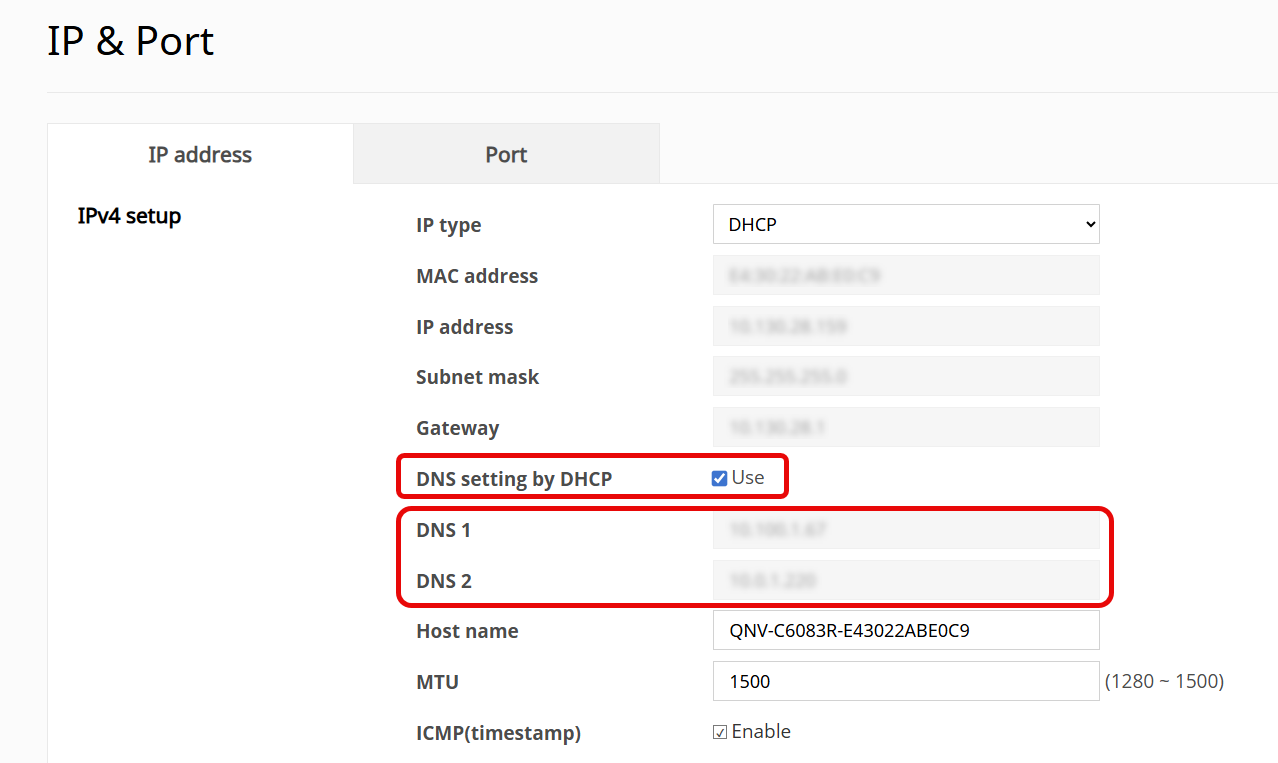
In the IP address section, do one of the following:
- Enable DNS setting by DHCP.
- Specify DNS servers manually.
-
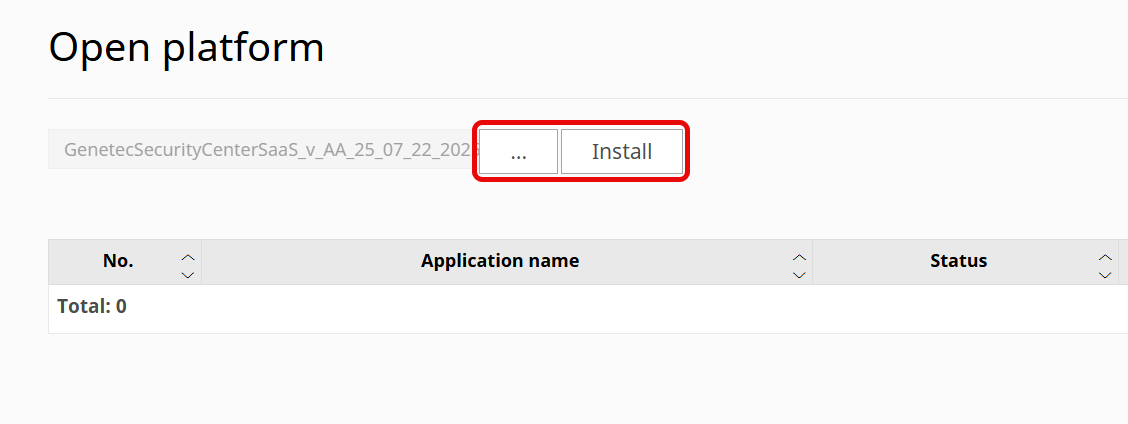
Click (…) and select the Genetec Security Center SaaS Connector application, then click
Install.
-
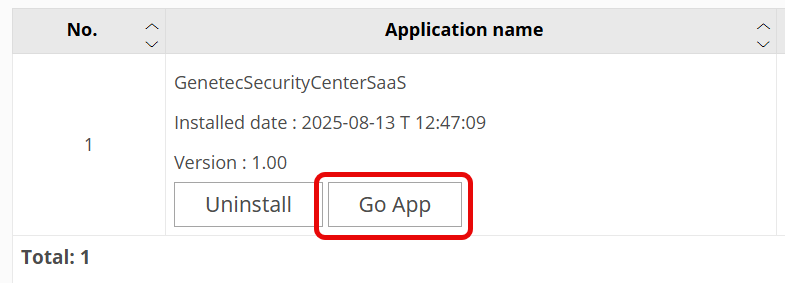
Once the application is installed, click Go App.
 A new window opens and displays the following message: Waiting to be added in Genetec Security Center SaaS. It may take a few minutes for the message to appear.
 -
Copy the camera Serial number and User
Secret.
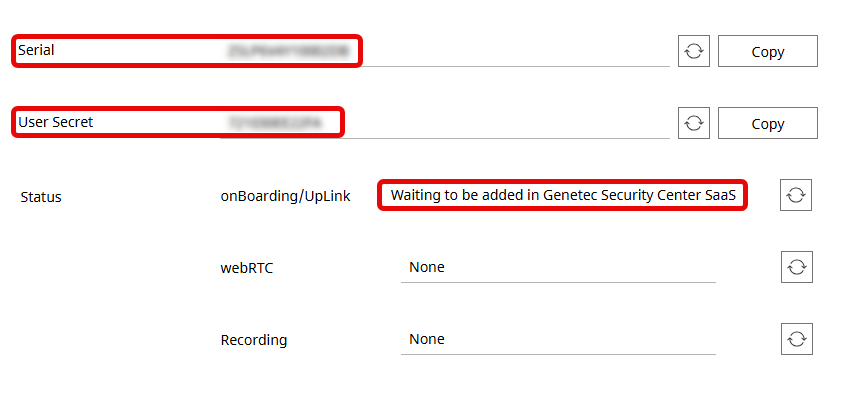 Note:The User Secret is called the Secret key in Security Center SaaS.
After you finish
- If needed, customize your camera's settings.
- To change camera settings that aren’t available in Security Center SaaS, sign in to the device.